Data Downlink: Creating a Simulation
Creating a Simulation
To begin, a new level will need to be created for this demo. The level will be named Tutorial_02_DataDownlink. As usual, placing the level inside the /Content/ directory within Nominal Editor is best practice. The demo blueprint actor should also be created from the base BP_DemoActor class, with the name BP_Tutorial_02_DataDownlink.
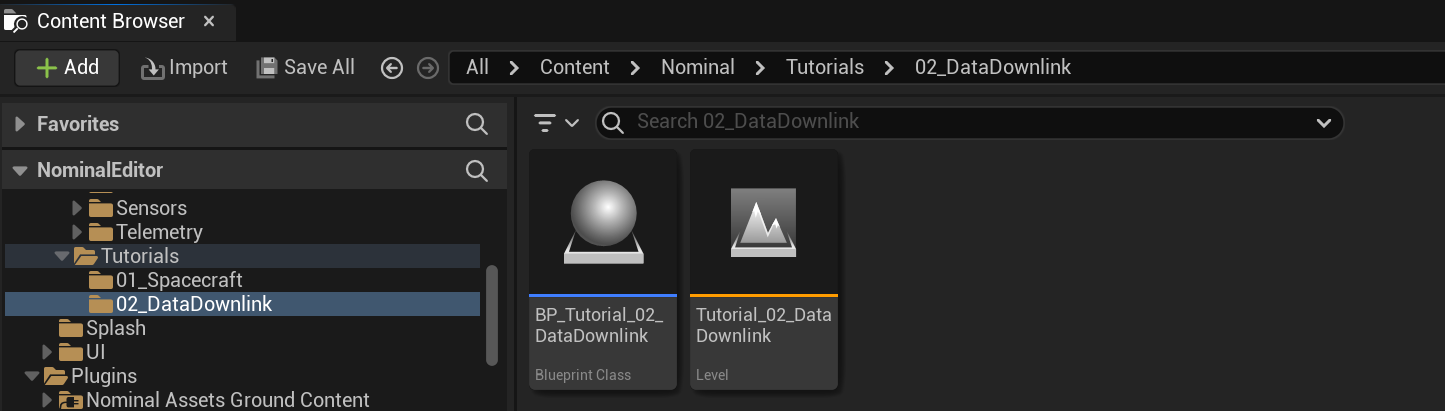
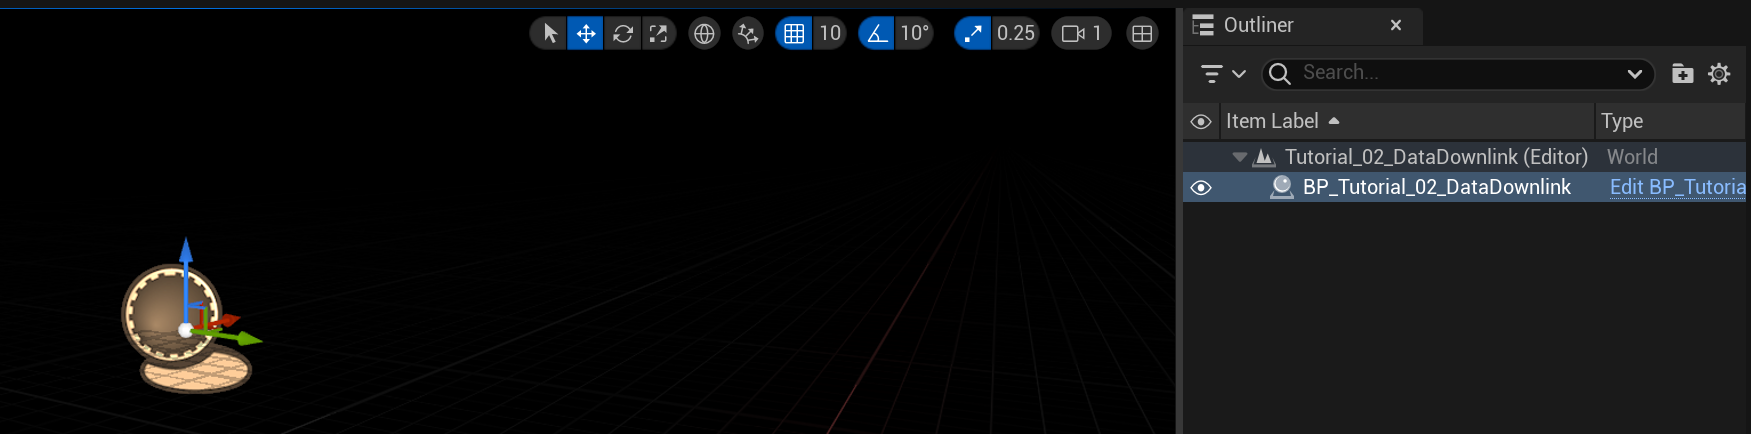
Once the level is created, open up the tutorial level by double-clicking the icon in the content browser. Then, add the tutorial blueprint by left-clicking and dragging the blueprint into the viewport.
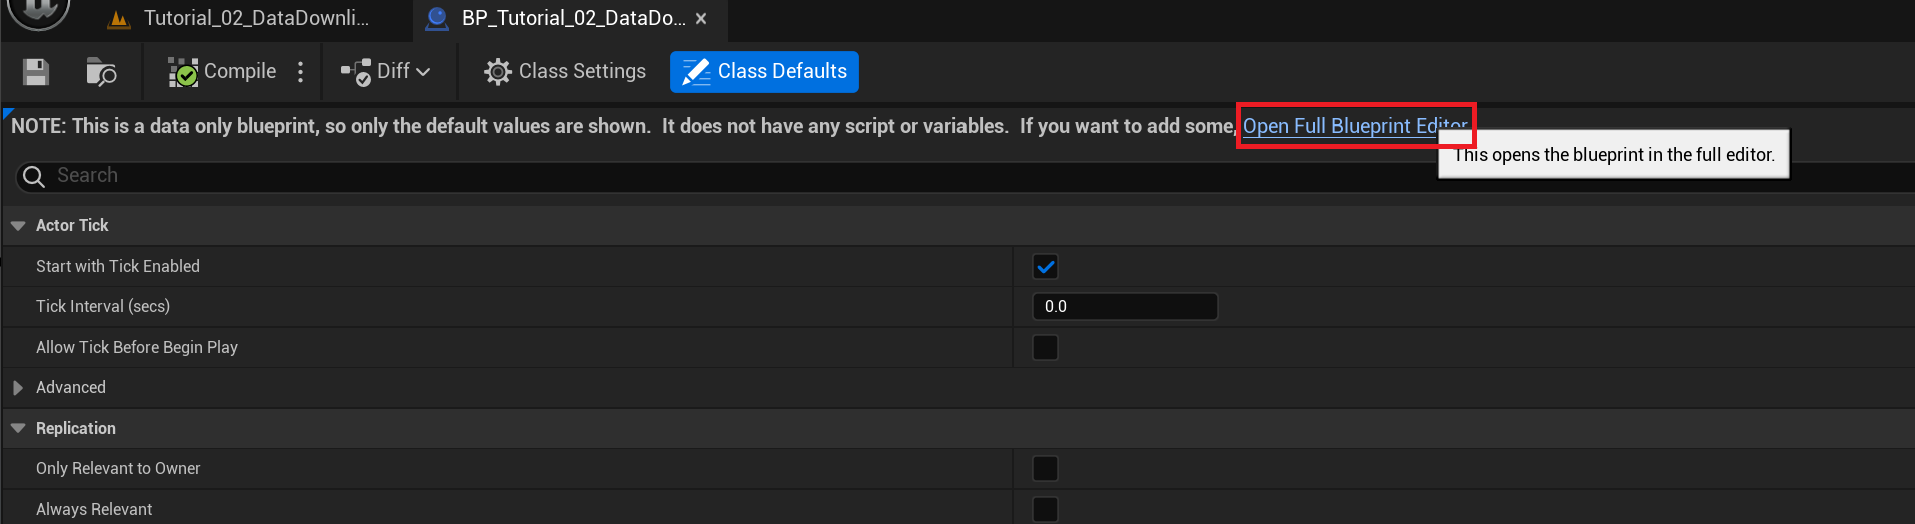
Once created, the blueprint can be opened. Sometimes, the blueprint may look like the following. Simply click the Open Full Blueprint Editor button at the top to switch to editing in the Blueprint graph.
Configuring the Universe
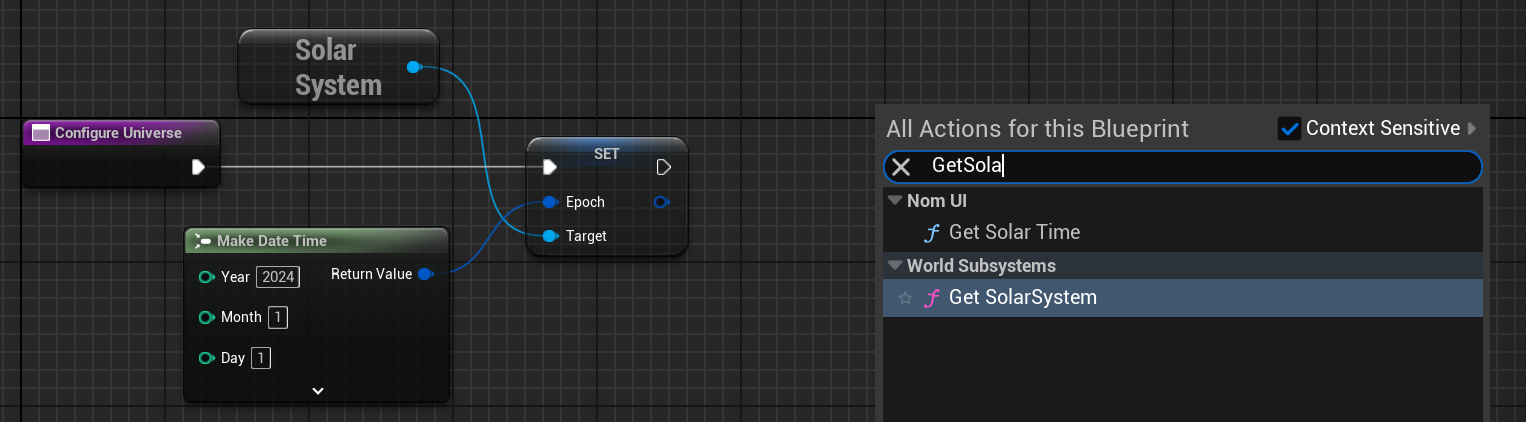
For this scenario, the only modification needed for the universe is setting the universe's epoch. Using the standard way to do this, a function can be created called Configure Universe and after fetching the Solar System, the Set Epoch function can be called. For Unreal date times, the year, month and day must be non-zero. If the epoch is left blank, it will throw an error and a default timestamp for the simulation will be used. Make sure to construct the date-time and pass it into the epoch.
Note
For demos, it is standard to use a fixed epoch rather than using the current time. This is to ensure that the simulation runs the same each time it is played and certain events such as eclipse and ground station passes happen when required.
Configuring a Spacecraft
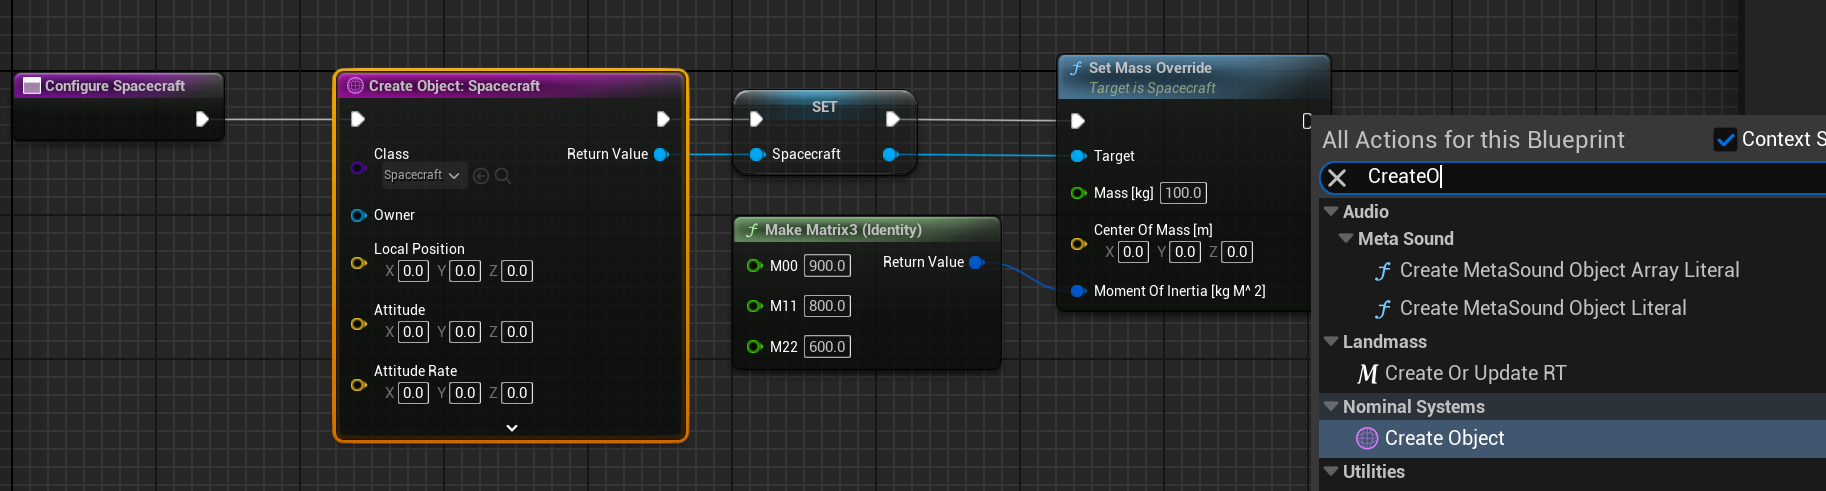
For this tutorial, a custom spacecraft will be designed using the blueprint editor. This will be completed on the next tutorial page. For now, a base spacecraft class will be spawned into the level. A new function will be created to be called and a basic spacecraft with a mass override will be added to the demo. Select Create Object function and search for the Spacecraft class on the class parameter. This is the base class for all spacecraft and changing this later to another class object reference can be done without any issues. This should be done in a separate function, Configure Spacecraft.
Initial Geodetic Elements
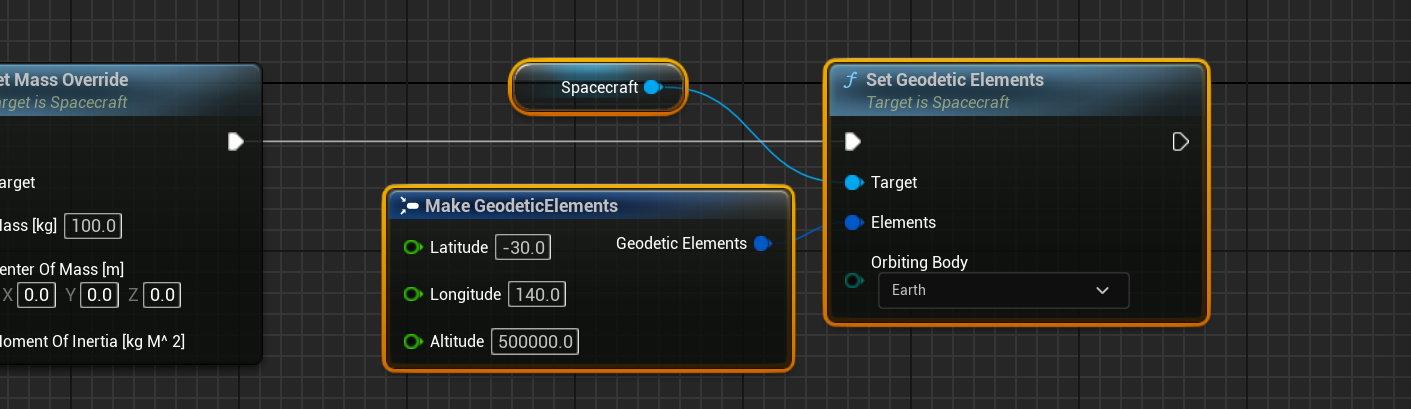
In a previous tutorial, the classical elements were used to spawn the spacecraft in a particular orbit. This is one of the many ways to initialize the orbit of a spacecraft. Another way to initialize an orbit is by using a Geodetic Element. This includes a latitude, longitude and altitude value to start the spacecraft. From there, the spacecraft will complete a circular orbit based on the inclination defined by the latitude parameter. This can be done by using the Set Geodetic Elements function in the spacecraft class.
Note
The Orbiting Body parameter can specify which planet the spacecraft is orbiting. This can be changed to any of the solar system bodies provided and it will orbit that planet instead of the Earth.
Visualizing the Spacecraft
On the level blueprint on the event graph, the universe and spacecraft configuration functions need to be added to the Begin Play event. This is the standard method across all demos provided with Nominal Editor.

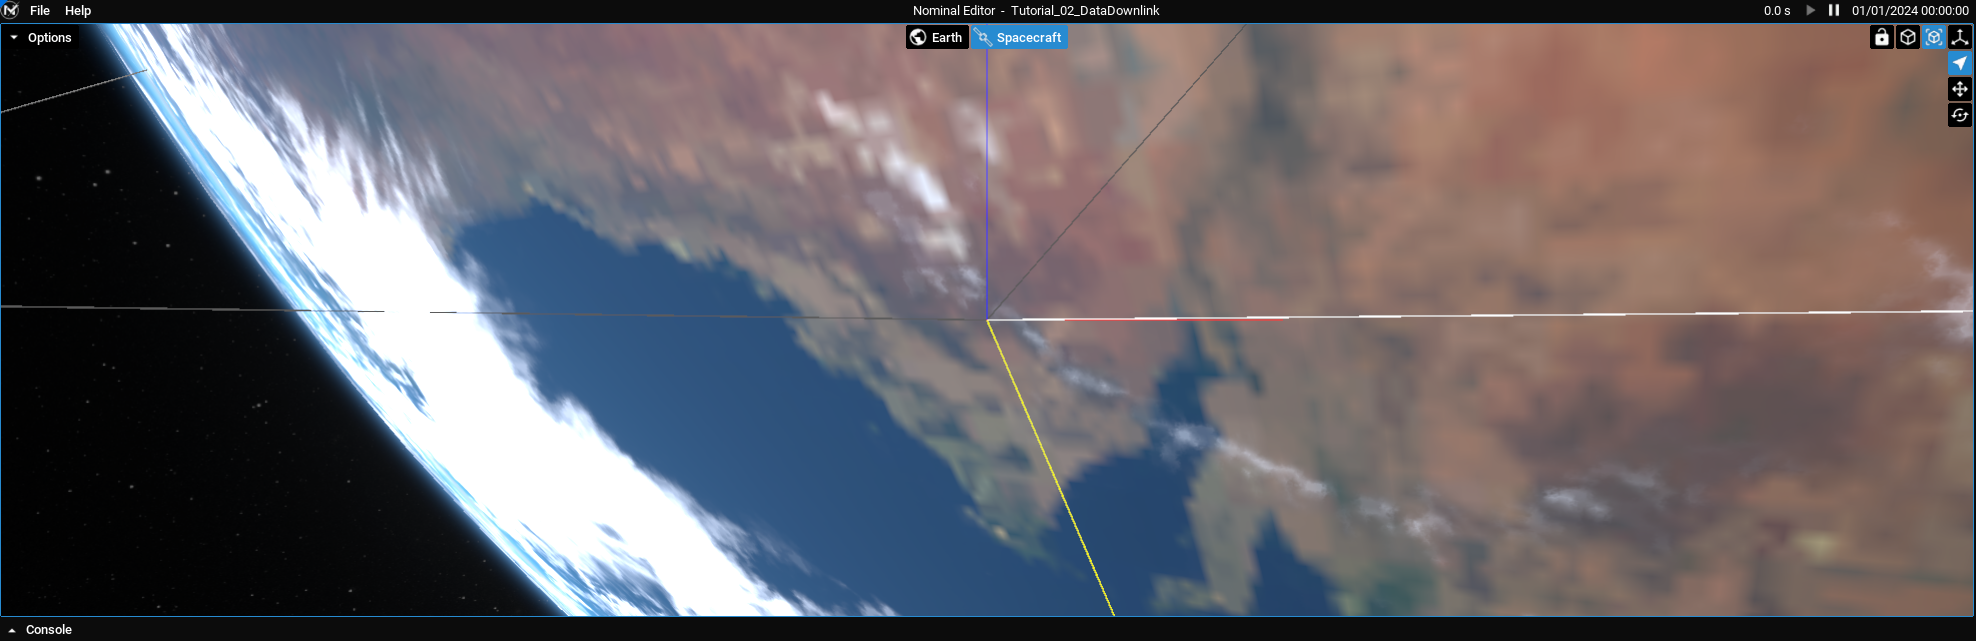
Once the simulation has hit play, the spacecraft will appear to be above Australia, due to the geodetic elements that are provided in the function. Since no components have been added to the spacecraft (including a chassis), the spacecraft will appear empty. The three-axis lines displaying the X (red), Y (green) and Z (blue) axes are shown instead.