Spacecraft: Running a Simulation
Plotting
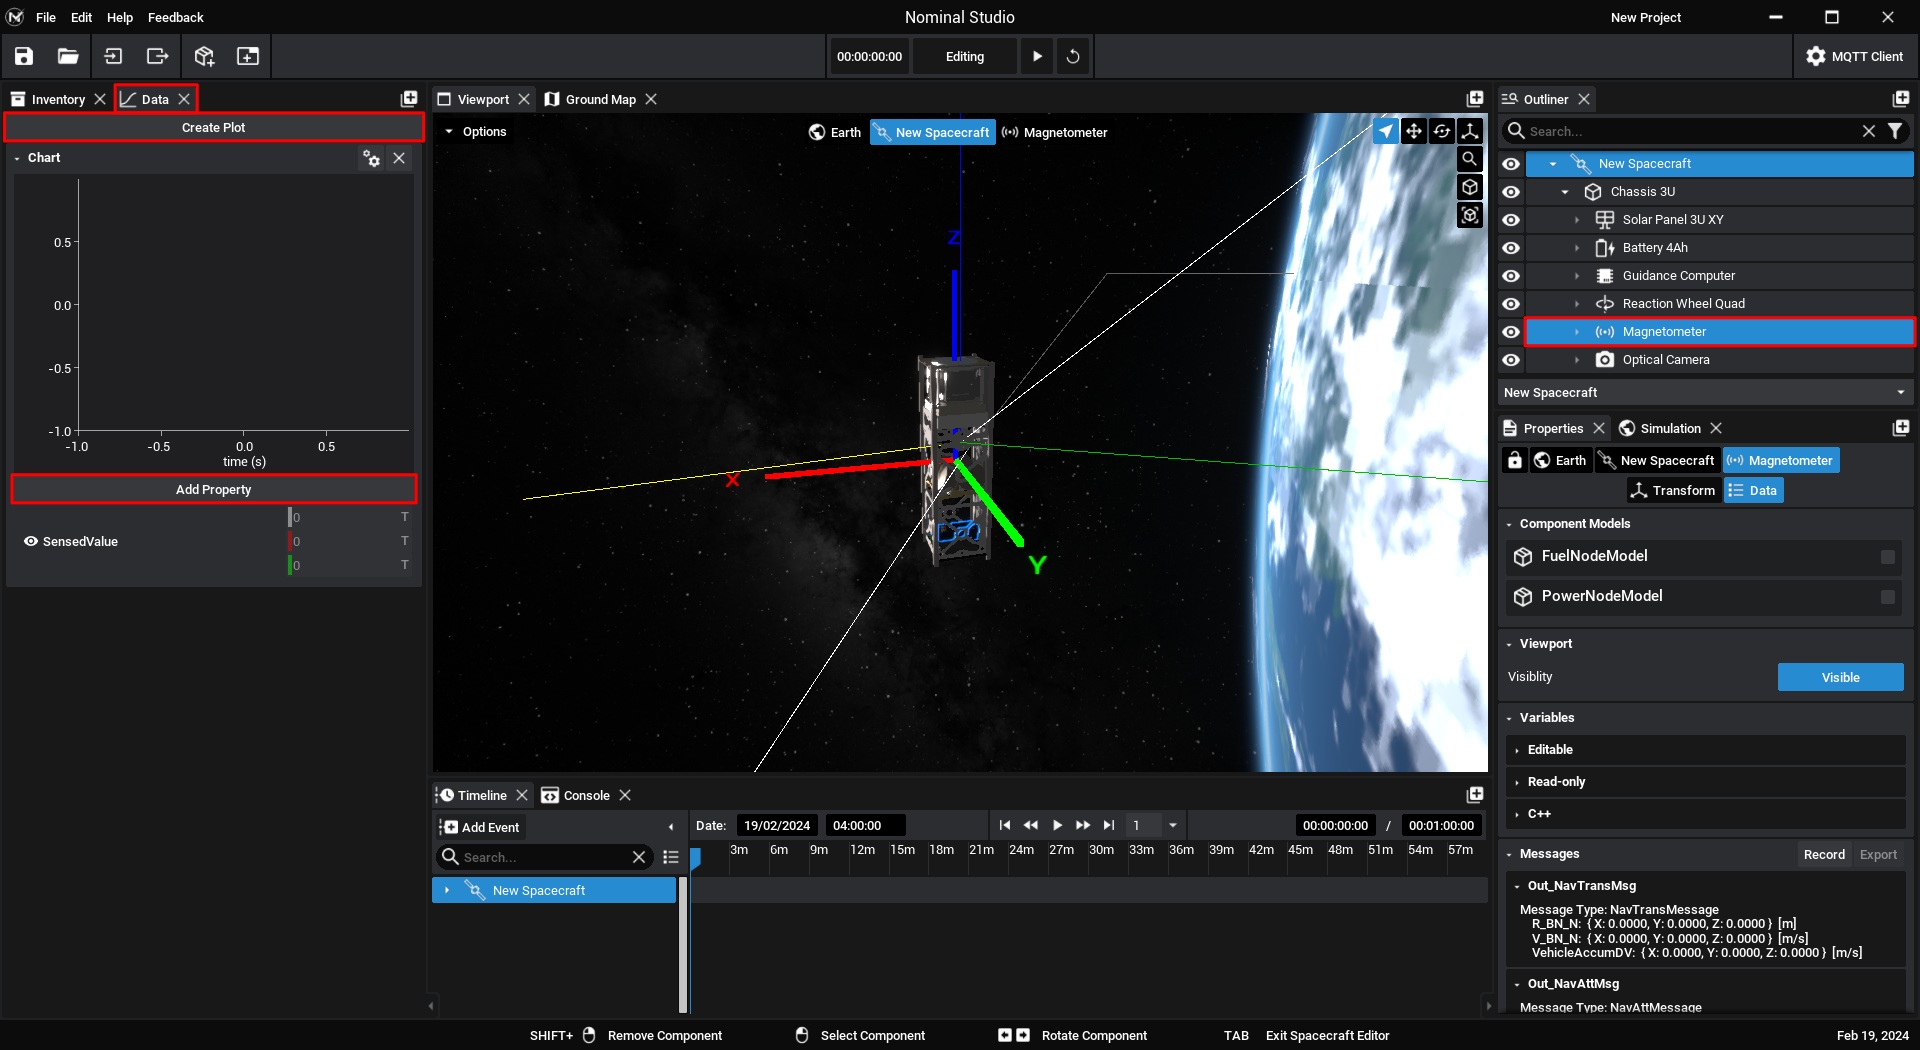
Before running the simulation, select the Magnetometer and head to the Data Tab next to the Inventory. Create a Plot and add the ‘Sensed Value’ property.
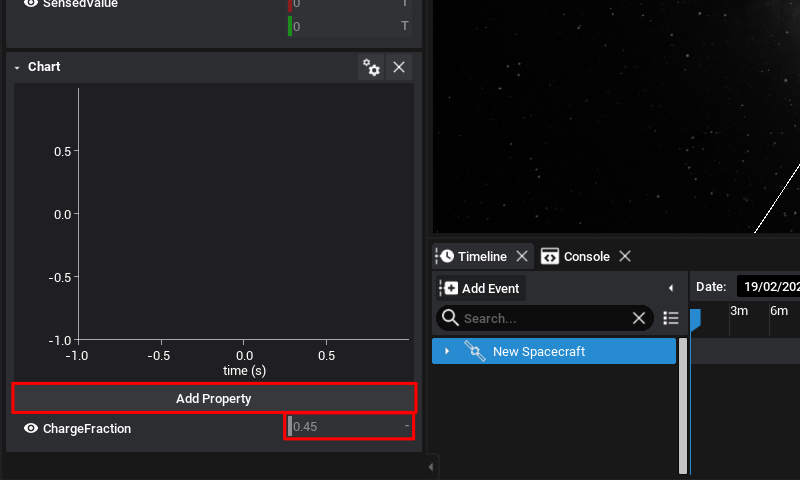
Next do the same with the battery, and plot its ChargeFraction. This should have been set to 0.45 during the component configuration stage.
Simulation Settings
Some aspects of the simulation need to be enabled for certain components to work as desired. In this case, our magnetometer won’t be reading anything, this is because the magnetosphere needs to be configured. In this case, it's a property of the planet that needs to be configured. As Earth is the primary body of the spacecraft it is listed in the breadcrumb at the top of the Properties Panel.
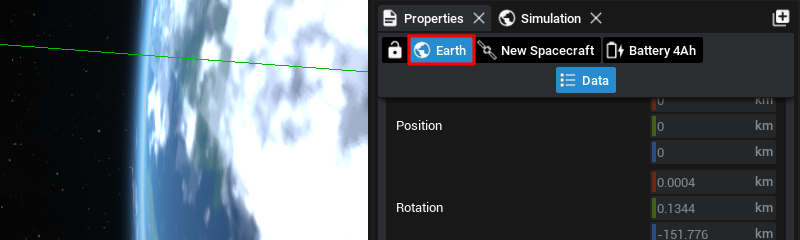
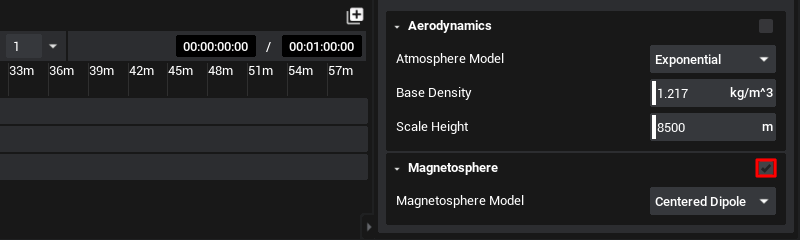
Navigate to Earth’s properties and enable the magnetosphere. The model type is not important here but will yield different values.
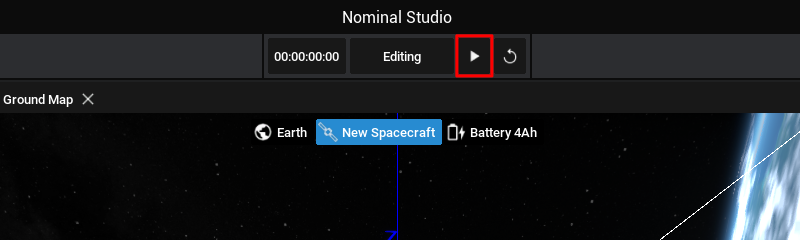
Playing a Simulation
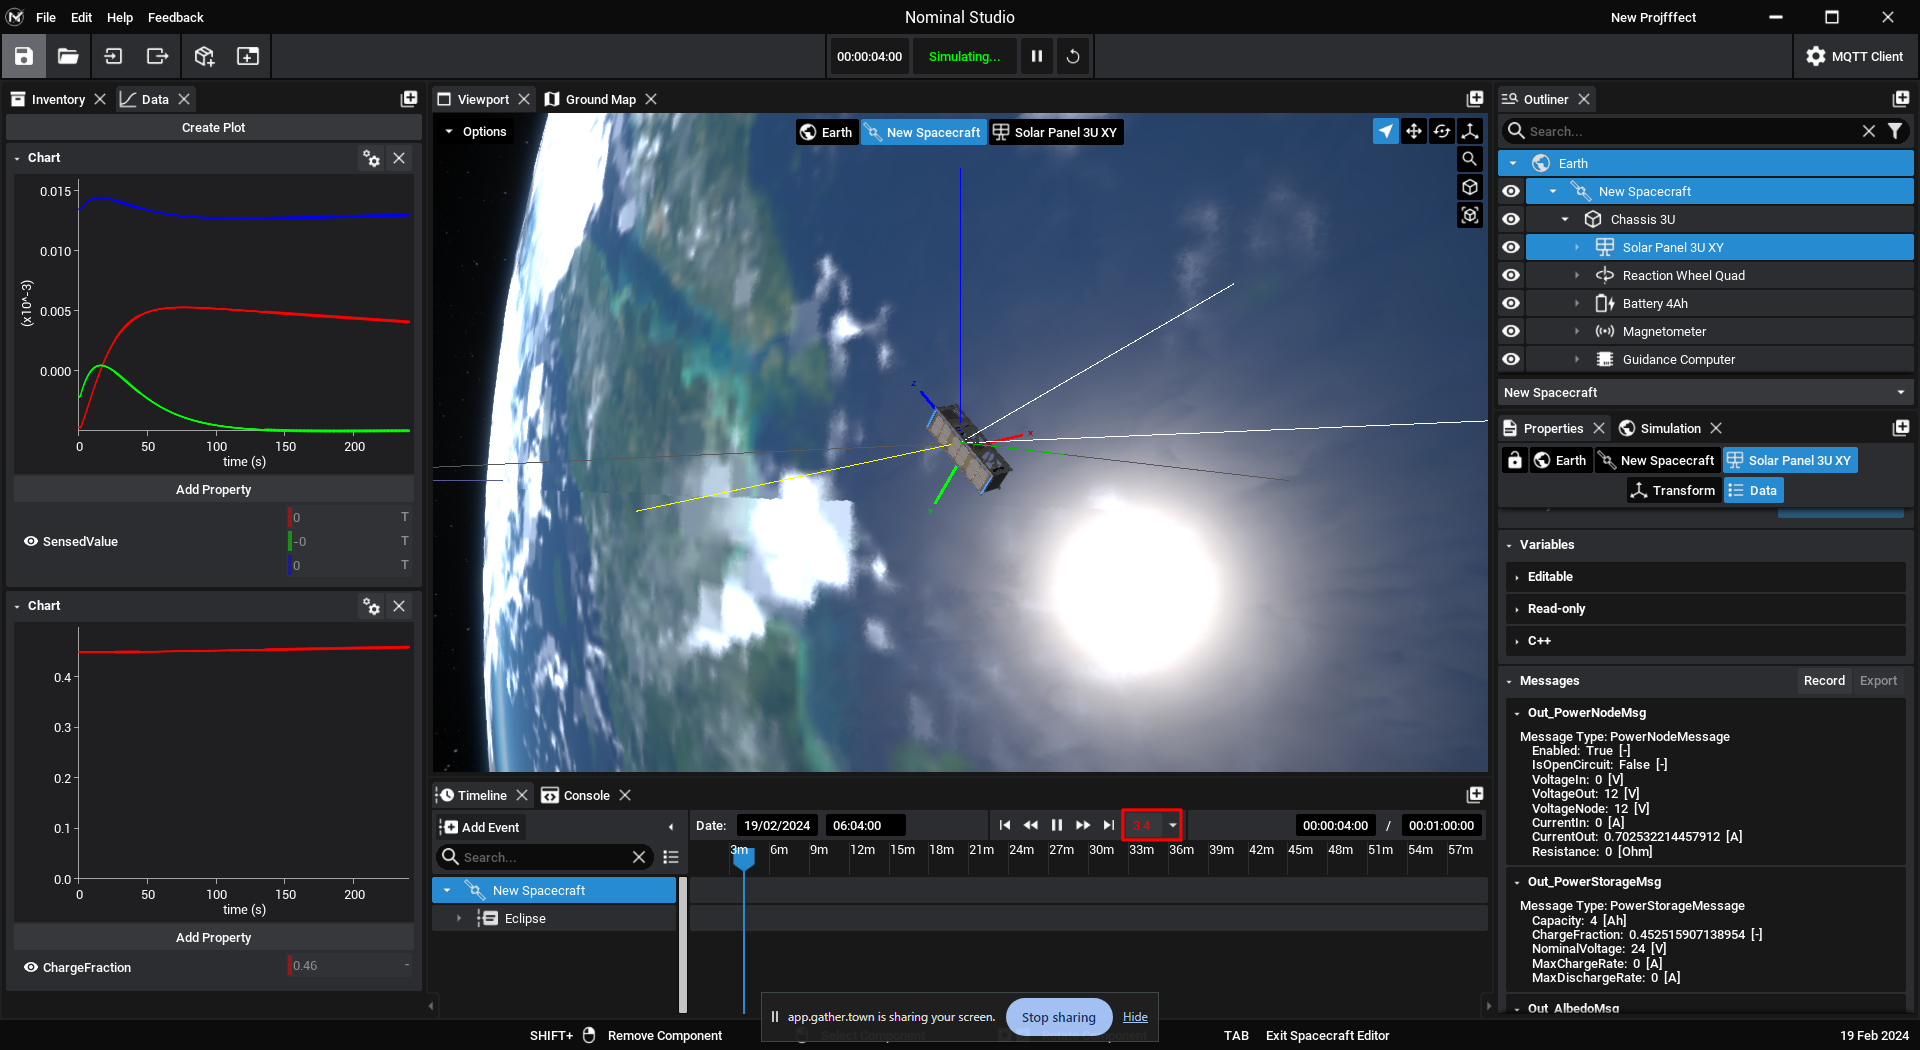
At the centre of the Upper Toolbar is the simulation status, currently in Edit Mode. Press Play and watch the spacecraft begin to align itself with the sun.
When the simulation is running, select the battery and watch the Charge level, or watch the value in the recently added plot. When the solar panel is no longer aligned with the Sun the charge should drop. As the simulation continues, the charge should reach half and trigger the NADIR pointing event. At any point, a photo can be taken with the key selected earlier (F1 in this example). Wait for the spacecraft to point at the ground and take a photo. If you configured your orbit for a specific target you may wait until the spacecraft is aligned. The battery will gradually charge, increasing the simulation rate in the Timeline to speed things up.
Note
The photo output can be seen in the ‘Saved’ folder next to Nominal Studio.