Editor: Creating a Spacecraft Blueprint
Description
Spacecrafts are the heart and soul of Nominal Editor, which contains components and orbits around celestial bodies. This operator guide showcases how to create a Spacecraft Blueprint from scratch, how to add components to it and how to spawn it in a simulation.
Creating the Spacecraft Blueprint
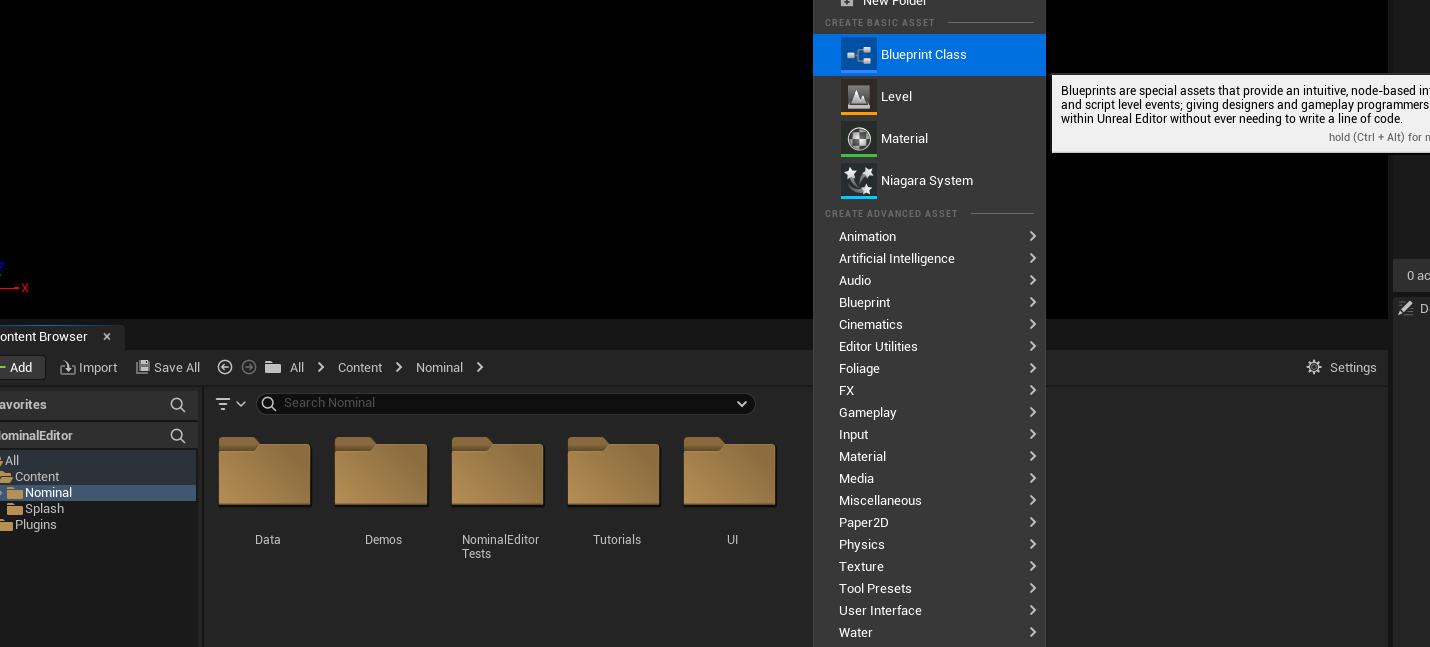
The first step is to create the spacecraft blueprint. Right-click on a space on the content browser and select Blueprint Class.
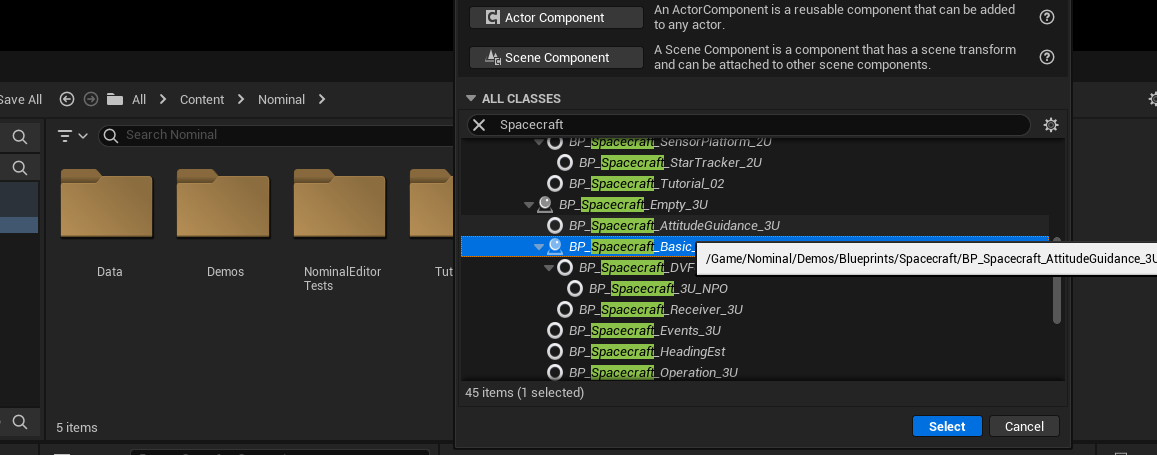
Next, a parent class can be chosen for the blueprint. In the bottom half of the new popup, search for Spacecraft and select it. This chooses what the blueprint will inherit from and in this case, we want to inherit from the base C++ Spacecraft class. Most blueprints will denote “BP_” as the prefix as that's the standard Unreal naming convention.
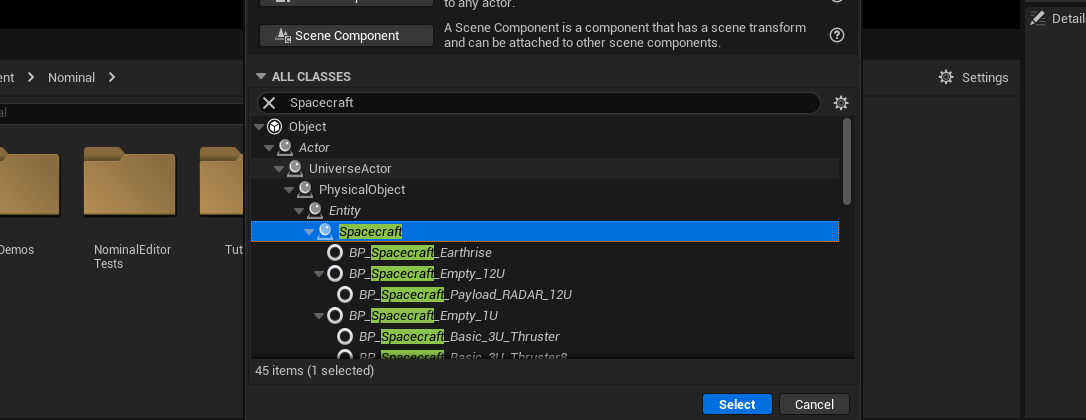
Note
Inheriting the class from a pre-configured spacecraft (in the case of the ones with a BP_ as the prefix) will include all components that have already been attached to that spacecraft. To create a new spacecraft from scratch, the class must be the base Spacecraft one.
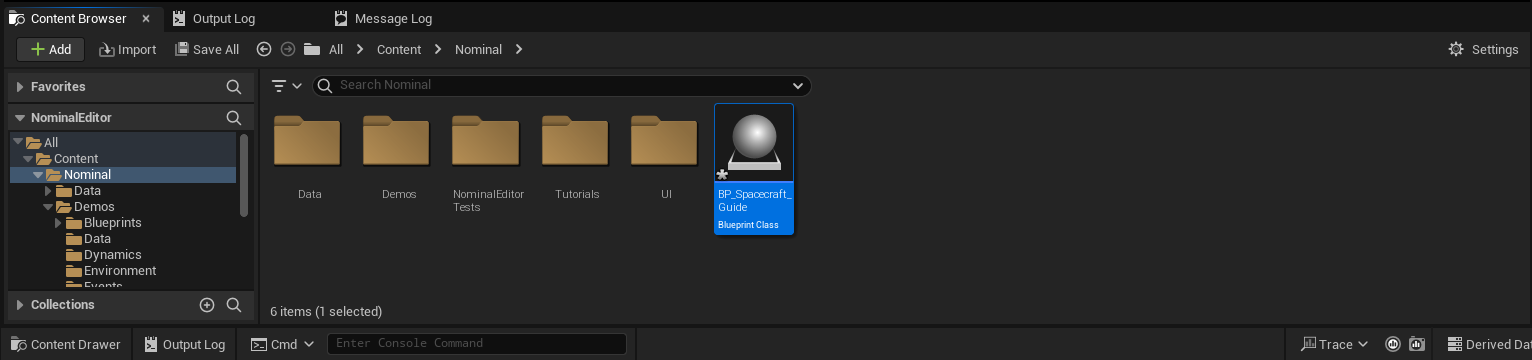
Give the new blueprint a name with the prefix “BP_” to follow Unreal’s naming convention and to quickly identify that this object is a Blueprint. Lastly, open it up.
Adding Components
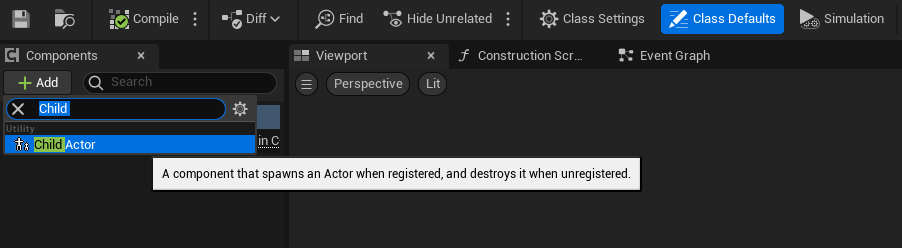
Click on Add button in the Components tab and then select Child Actor. This will create a child actor on the root component. The reason why we do it this way is so you can add prebuilt components we have provided and for easier reusability.
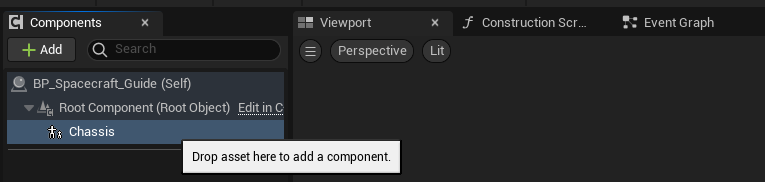
The first component that will be added is a chassis. Once the child component is added, right-click and rename the child actor to be called Chassis.
Then, selecting the chassis object, navigate to the details panel on the right and under the Child Actor Class, an example chassis object can be selected. There are several pre-configured classes for each of the components and these can be useful for changing the models per spacecraft. The pre-configured library includes pre-configured parameters, masses and meshes.
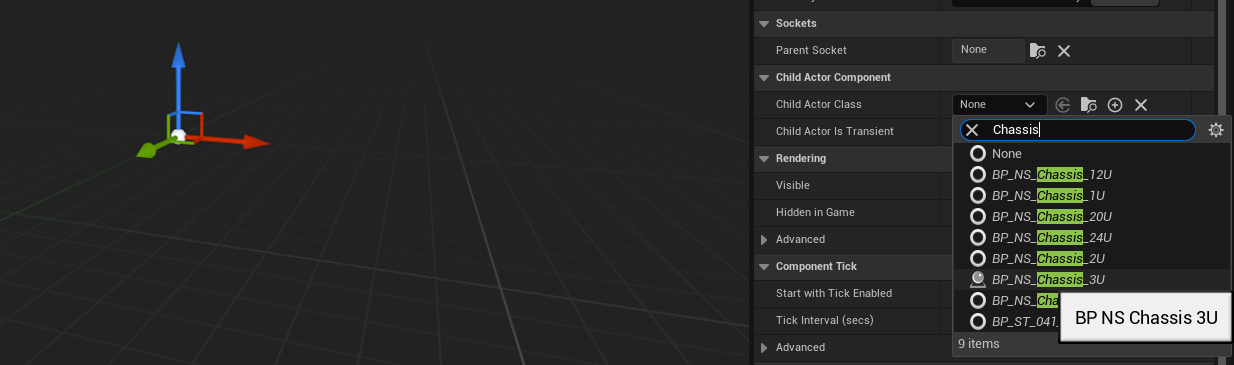
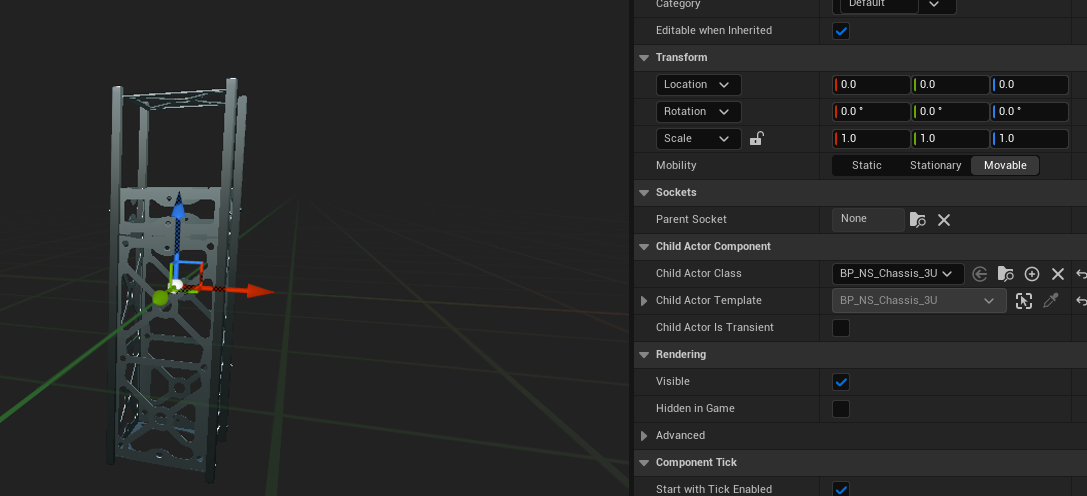
On the details panel (default is on the right), select the Child Actor Class dropdown and select a BP_NS_Chassis_3U. This will make the child actor a copy of the selected actor class.
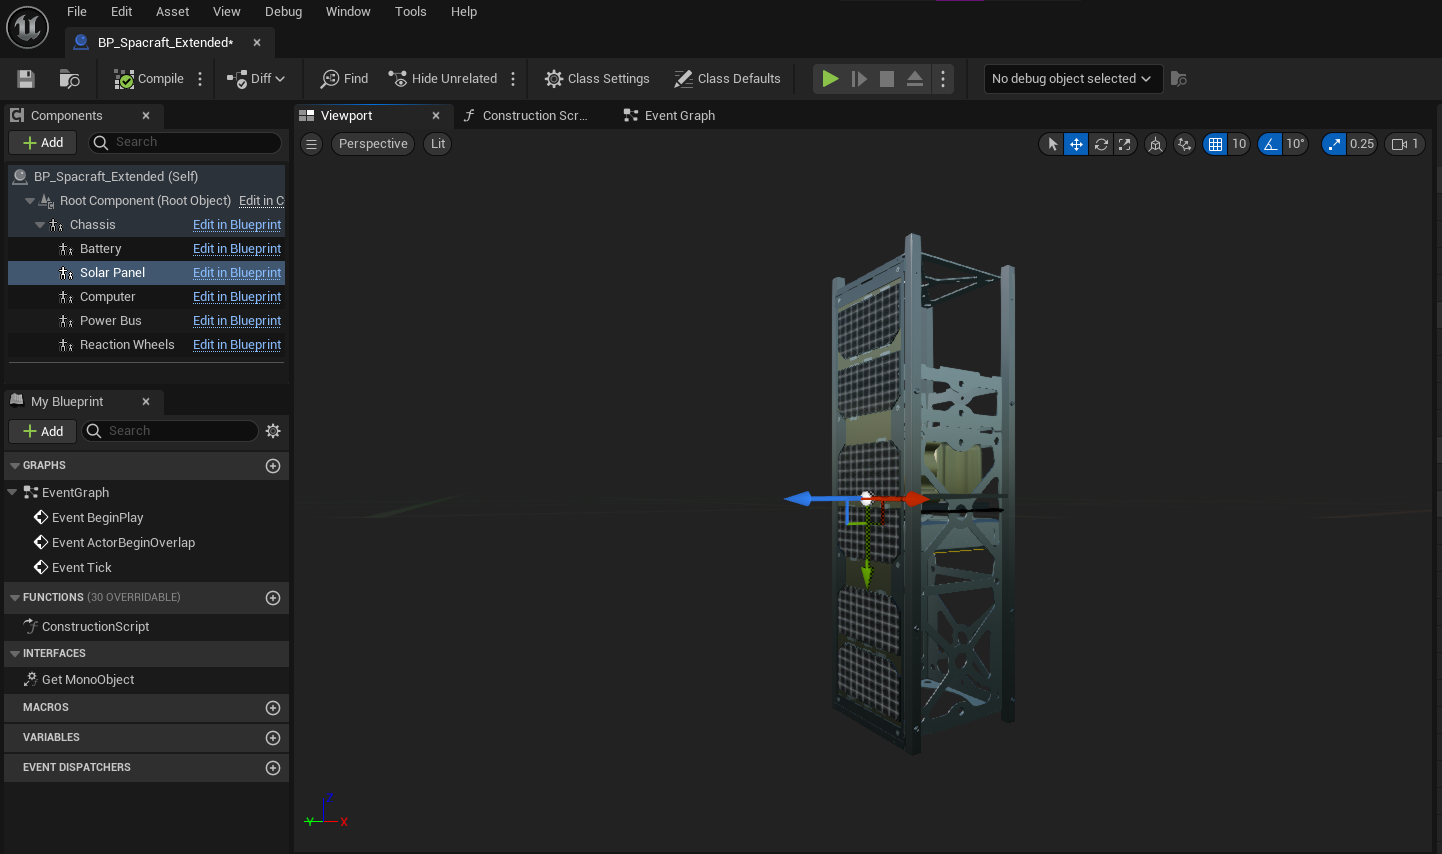
To add another component to the hierarchy, select the previous chassis component and add another child actor, naming it Solar Panel. This will have its transformation relative to the Chassis.
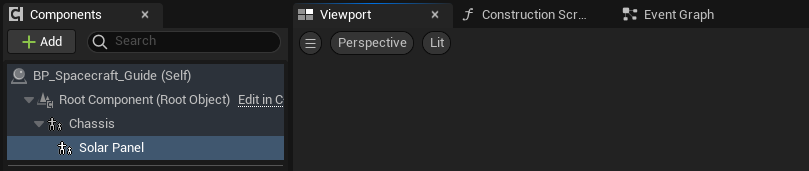
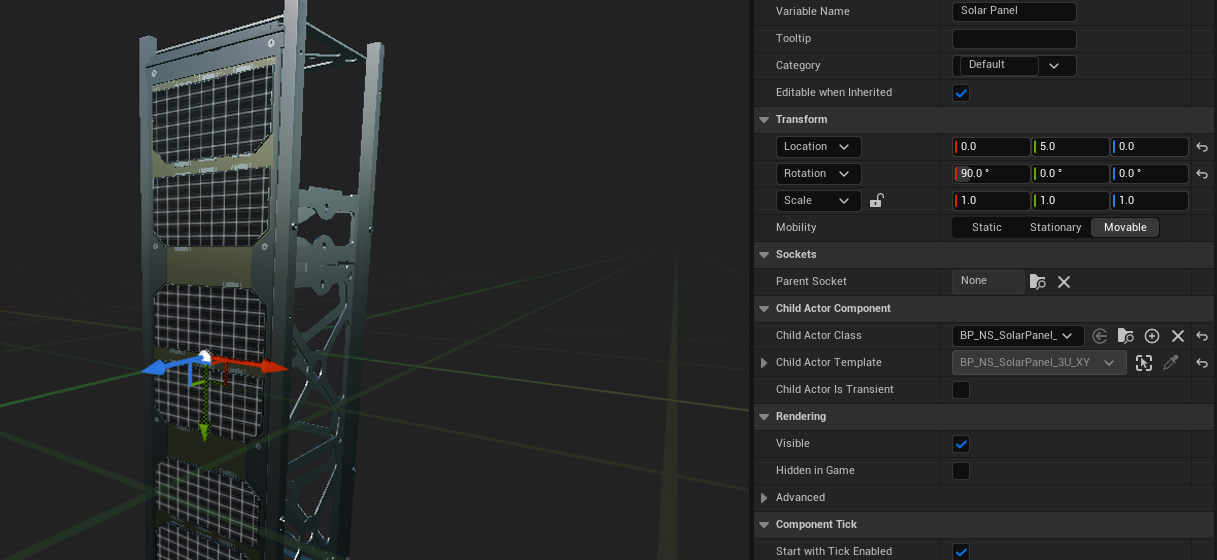
In this case, the child actor class should be a solar panel. One example is the BP_NS_SolarPanel_3U_XY class. The default transform of the spacecraft will be lying horizontally so update its transforms to have it upright and its Z-axis(blue) facing the outside of the Chassis. This can be done by playing with the Location and Rotation vectors in the transform window.
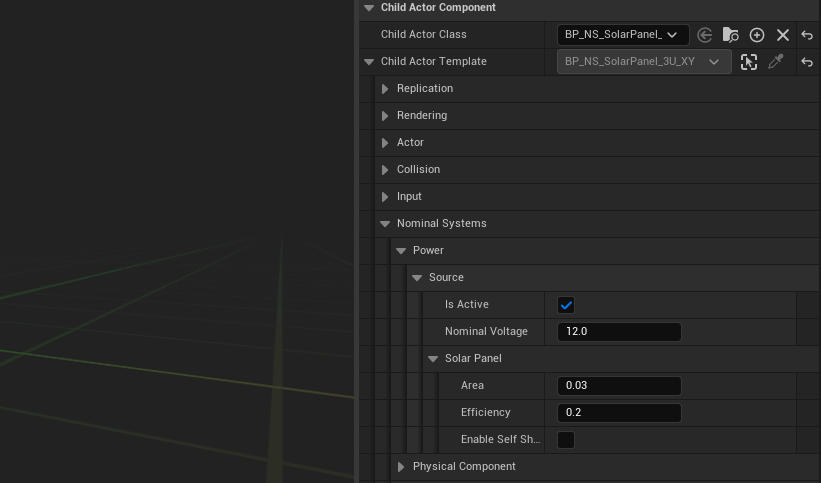
It is possible to modify a component’s variables. For a solar panel, the area, efficiency and self-shadow variables can be edited under Child Actor Template → Nominal Systems → Power → Source in the details panel.
Note
Once the spacecraft has completed editing, make sure to compile and save to ensure there are no issues and the editor can use this blueprint.
Spawning a Spacecraft
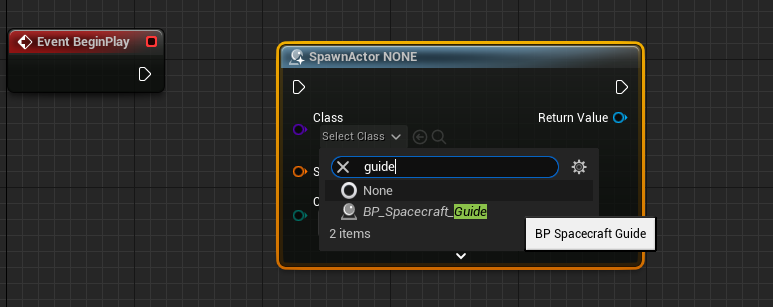
Create a new level (or open a previous one) and open the Level Blueprint. Then, right-click anywhere and create a Spawn Actor from Class node. This will allow for spawning on Unreal actors and, in this case, spacecraft.
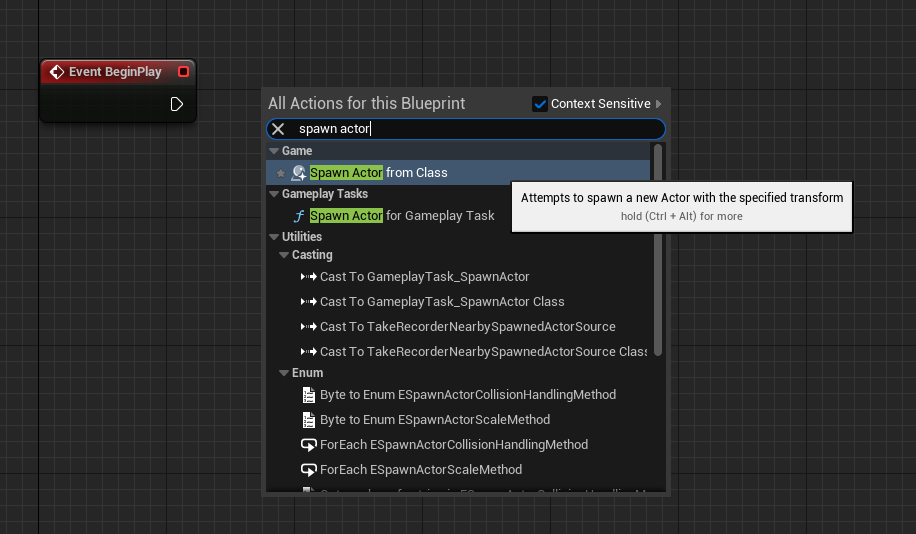
Select the Spacecraft actor to be created in the Class dropdown. The node will now spawn the selected actor.
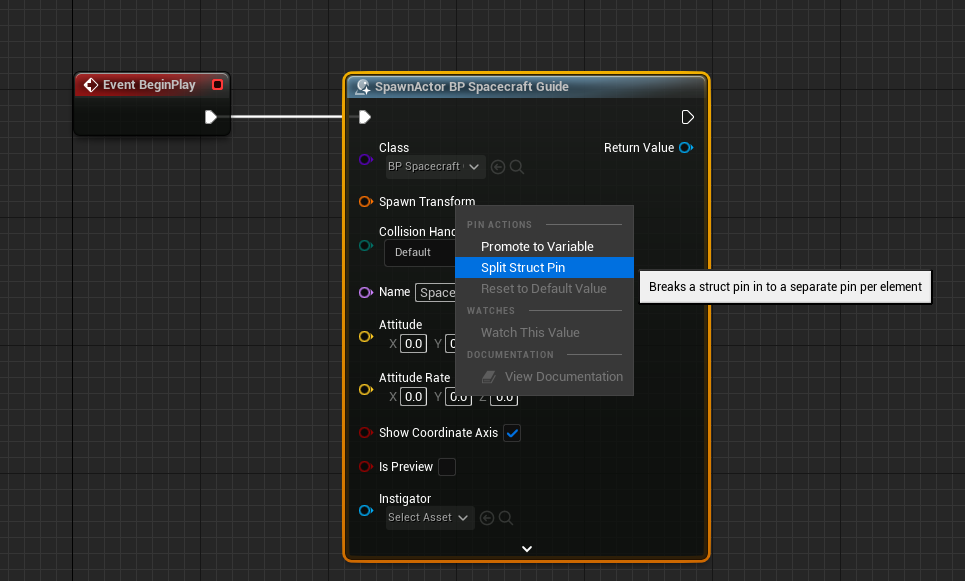
Next, link up the BeginPlay execution pin (the white line) to the Spawn Actor from Class node. Then right-click on the Spawn Transform pin and select the Split Struct pin. This is required as Unreal will throw an error if the Spawn Transform pin is null. An alternative method is to create a transform and pass it in.
Warning
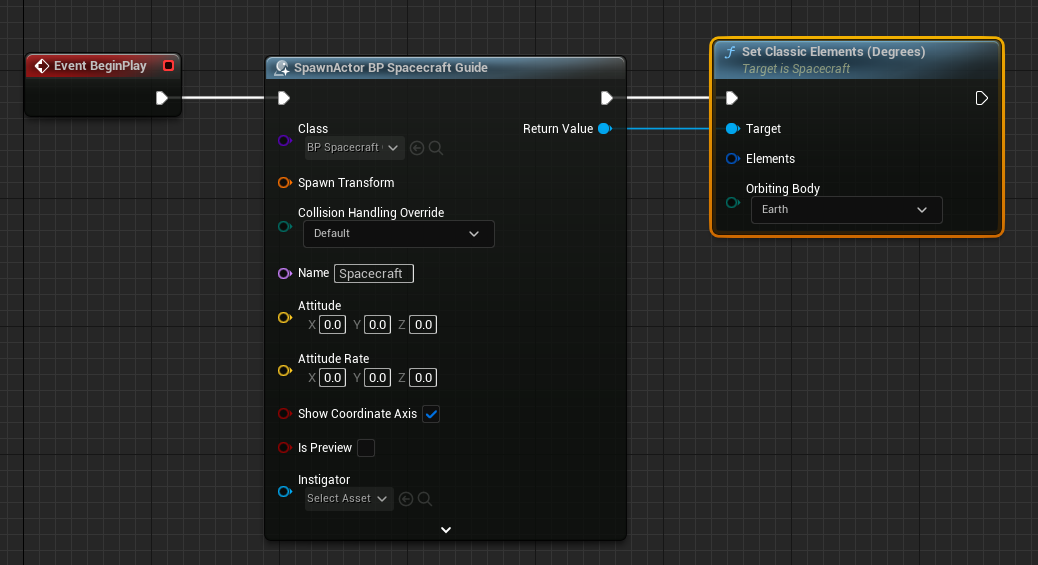
For spacecraft, there is no requirement to set any rotations or location parameters in the spawn transform as it will not affect where the spacecraft is spawned. The setting of the position and velocity will affect this.
Finally, drag from the Return value and select Set Classic Elements to give the spacecraft a basic orbit, otherwise, the spacecraft will spawn in the centre of the Earth.
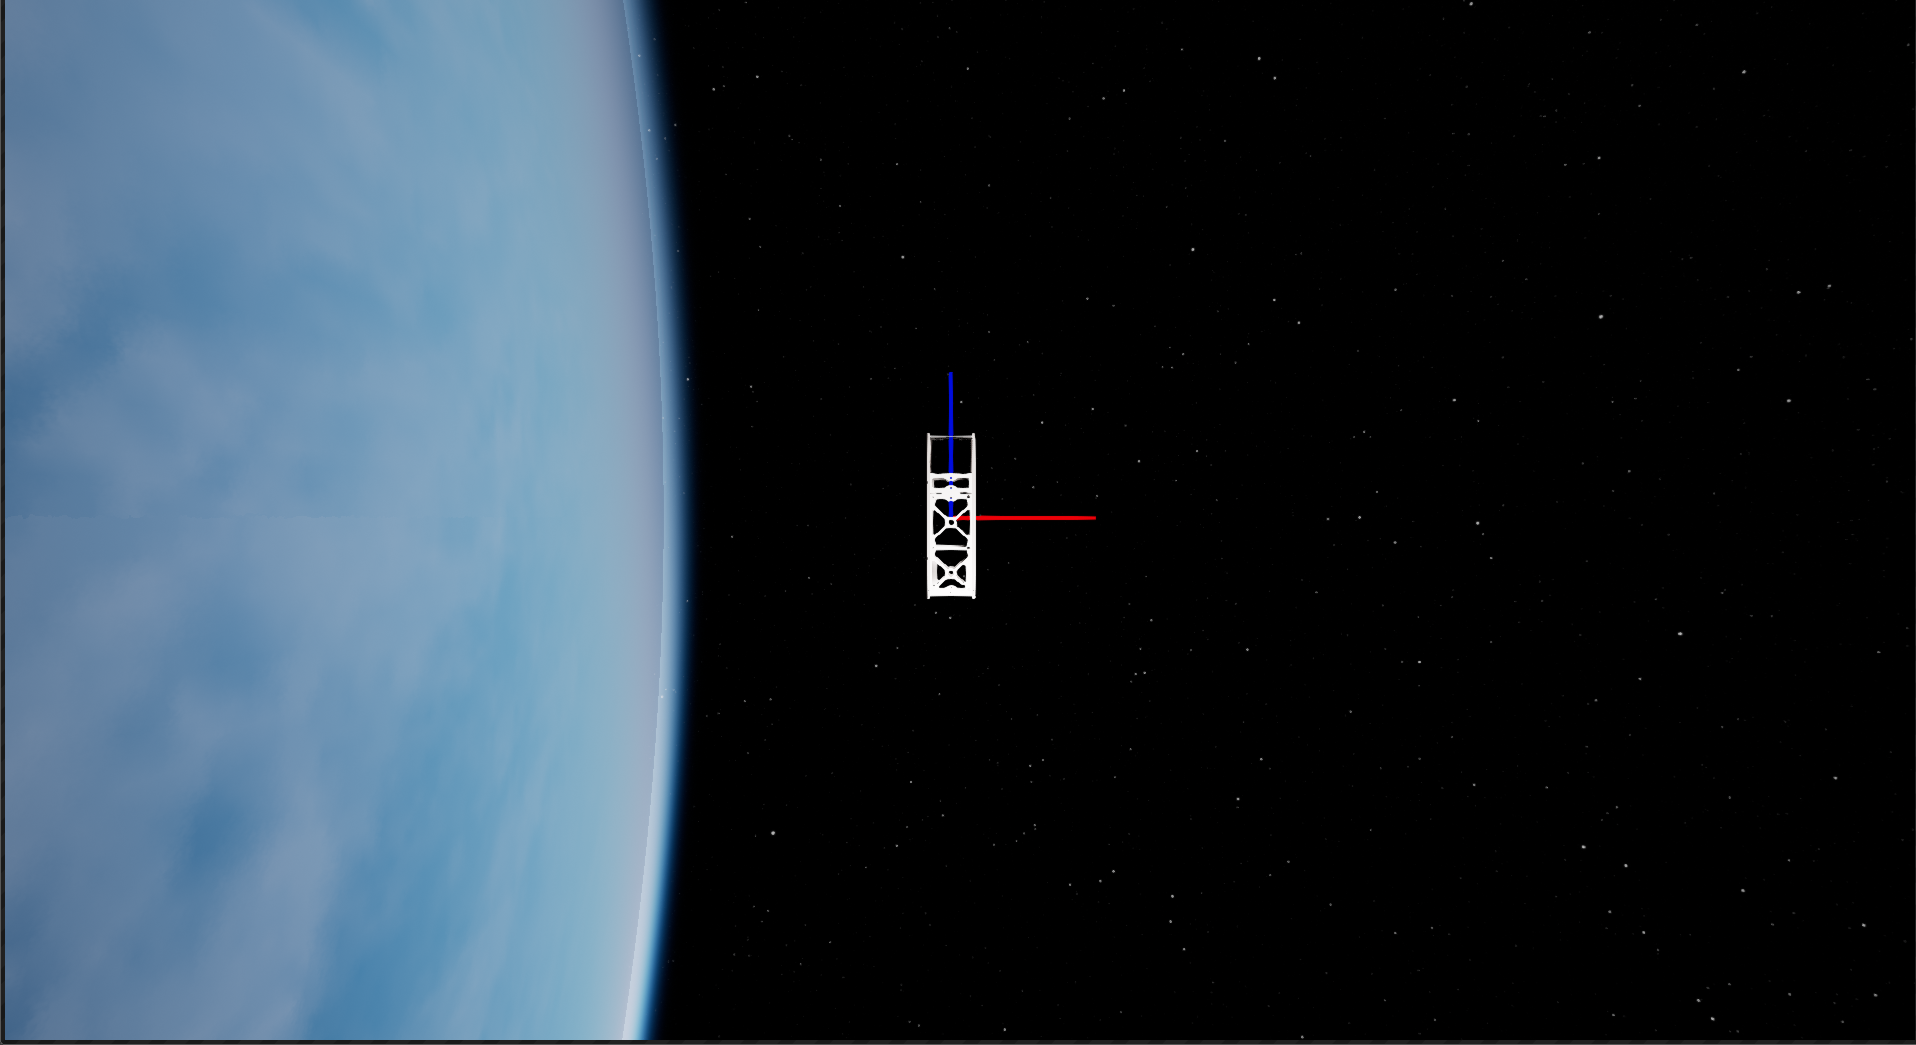
Hit the Play button and the spacecraft will be seen in an orbit around the Earth. It’s not moving as the simulation is not being ticked yet.
Creating a Spacecraft from an Existing One
Sometimes, it is useful for creating spacecraft from existing ones that have already been defined. To create a new blueprint, when selecting the parent class, instead of selecting Spacecraft select an existing blueprint with a “BP_Spacecraft” prefix. This would make the Parent class a blueprint instead of a C++ class and inherit all its components.
Open the spacecraft up and all of the components that were defined in the parent class will be listed as inherited components. These can still be modified without affecting the component data in the parent class, while still being able to make variations in the class.