Editor: Scheduling of Operating Modes
Description
Certain commands can be loaded into an external database file and be parsed into an Operation Computer to be executed at specific points in a simulation. This enables a custom command system to be run on the spacecraft without requiring user inputs. This document will show how to run the commands from a database and what commands are possible to be executed.
External Database
The first step is to load the commands into the database. A typically supported database is a .db file executed with SQL. An example of such a file can be found in the content directory under Content/Nominal/Data/InputData/TMTC. Although, the structure of the table is dependent on the user and is configured by the blueprints.
Note
A common free application is the DB Browser for SQLite which was used to develop the database files required for the demos in Editor.
In this tutorial, a new database will need to be created. This can be done using the New Database button in the DB Browser tool. The database will be called DB_Operation but the actual name does not have any specific standards or requirements. The extension must be .db for this system to work correctly. Once created, construct a new table with the following fields:

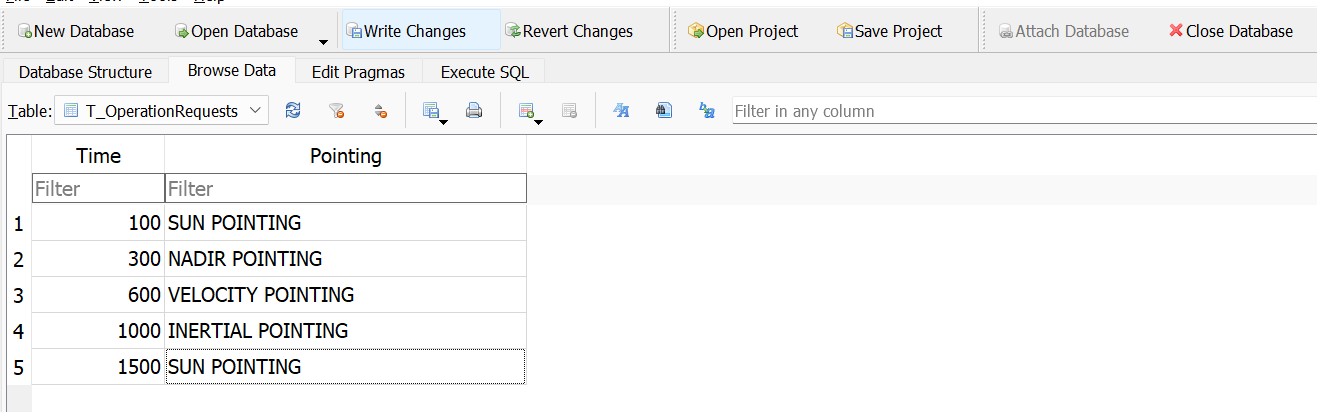
Using SQLite, primary keys are not a requirement for constructing databases and the system for loading commands does not need any primary keys. By not using a primary key, multiple lines with the same Time field can be inserted. The actual columns are up to the user but for this tutorial, a Time field will specify the simulation time that a command will be loaded and the Pointing field specifies the pointing software command, such as sun or earth pointing. Extended functionality such as additional parameters could also be loaded into the database and inserted into a computer if needed, with some extra Blueprint functionality required.
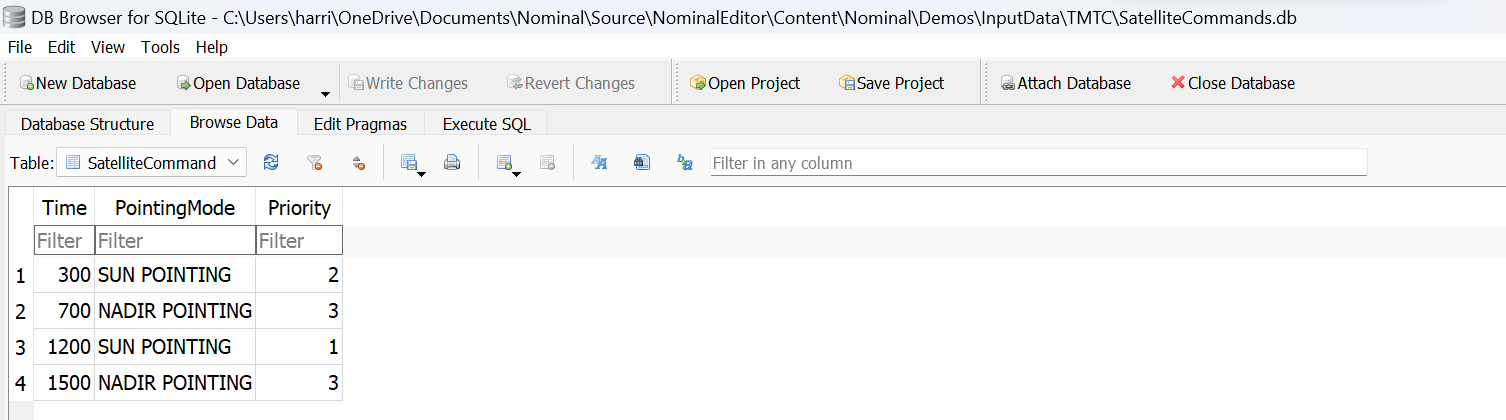
Some example data will be inserted into the table by clicking on the Insert Record button on the toolbar of the browser. The data used in this tutorial is:
Warning
Ensure to click the Write Changes button before closing the table or the database. Additionally, the data may not be loaded correctly if the browser has the database open while simulating Unreal.
Creating a Struct
A replication of the database table fields needs to be created in Unreal as a uasset file for Blueprints to correctly understand the data. This can be done by creating a structure. A struct is an object file that contains a series of parameter names and fields that can be populated within a table. By right-clicking on the content browser, a new structure can be created.
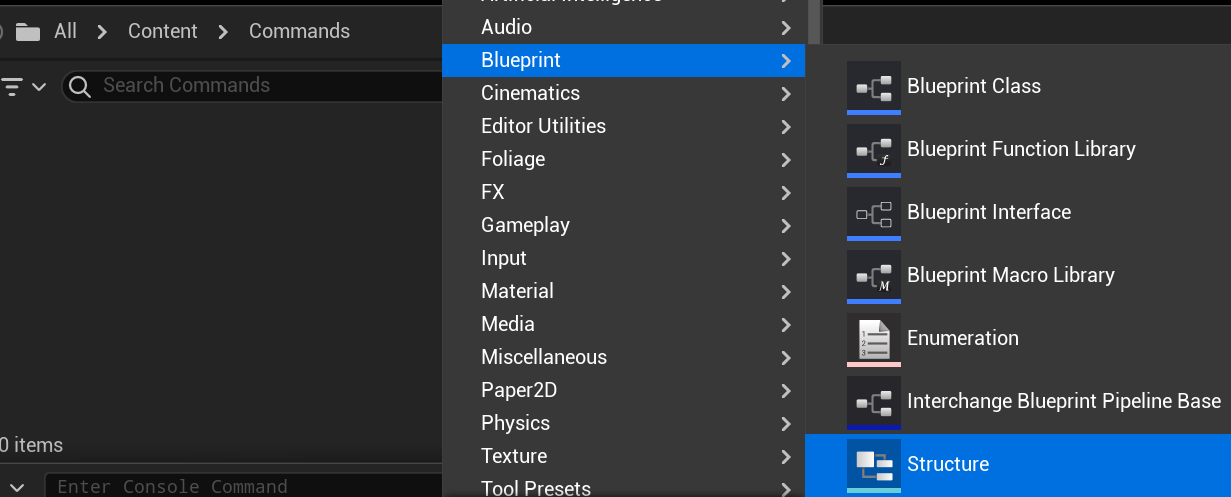
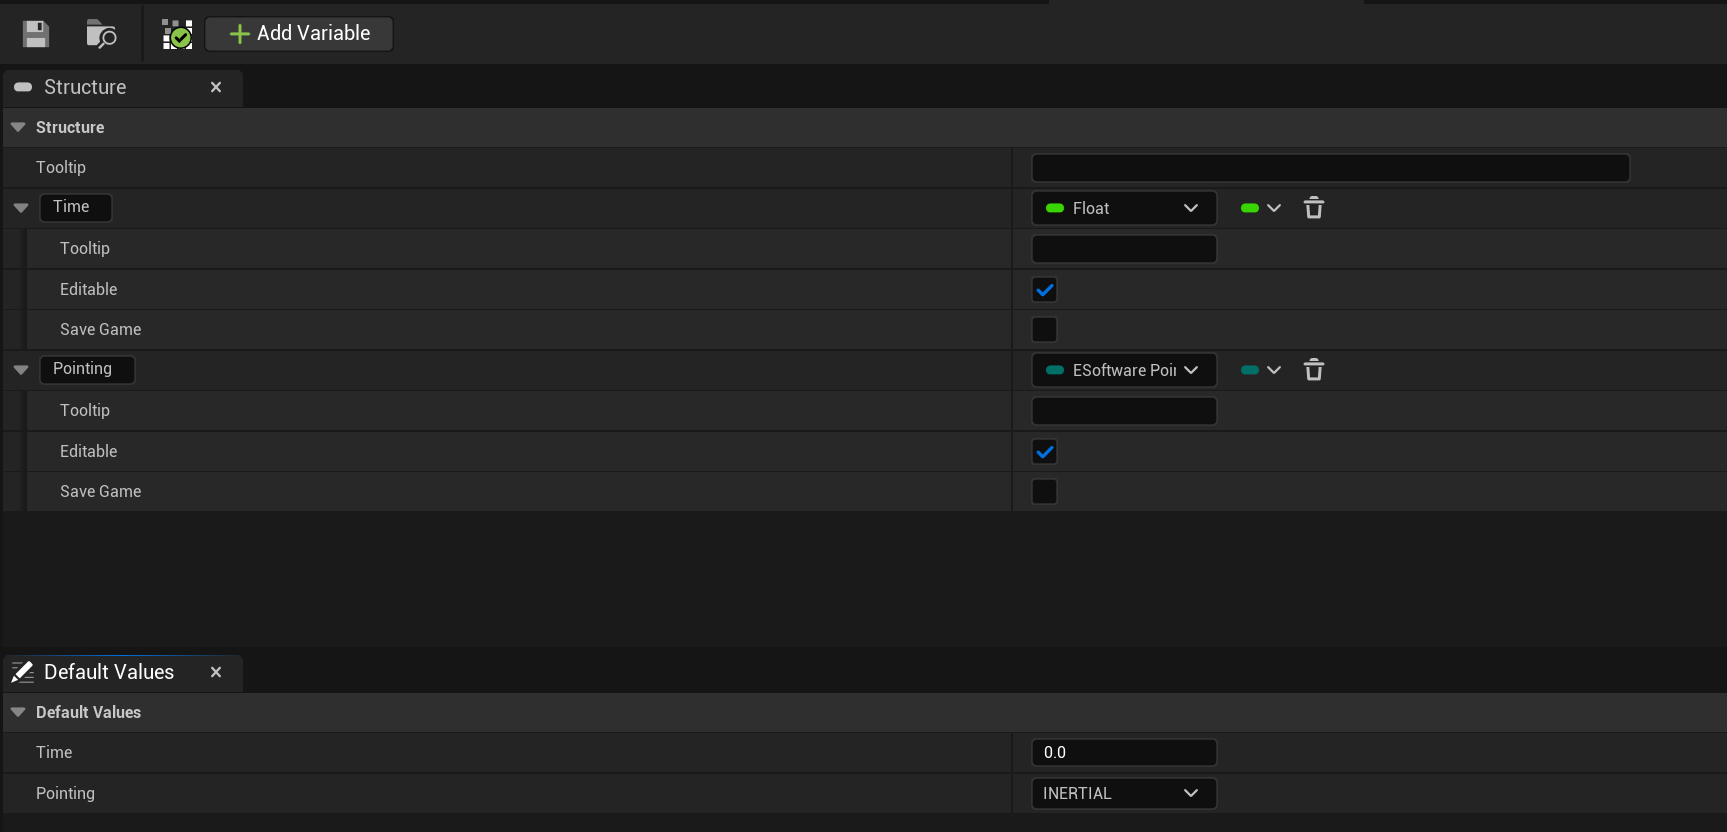
This structure will be called BP_Command. Within the structure, some fields with field names and types can be defined. For this particular structure, only the time and the software pointing mode need to be defined.
Reading a Database
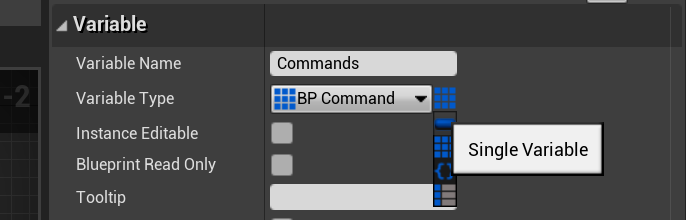
The next section of the tutorial assumes that the user has constructed a simple simulation with a spacecraft that contains an operating computer of some kind. On the Begin Play event, a new function can be created that will parse the commands in the SQL database into structures and store them in a table. This will be the Read Database function. Additionally, an array of BP_Command needs to be created in a new variable.
Note
To change a variable between arrays and maps, press the button on the right side of the variable type box and select one of the other options. This works for any variable type.
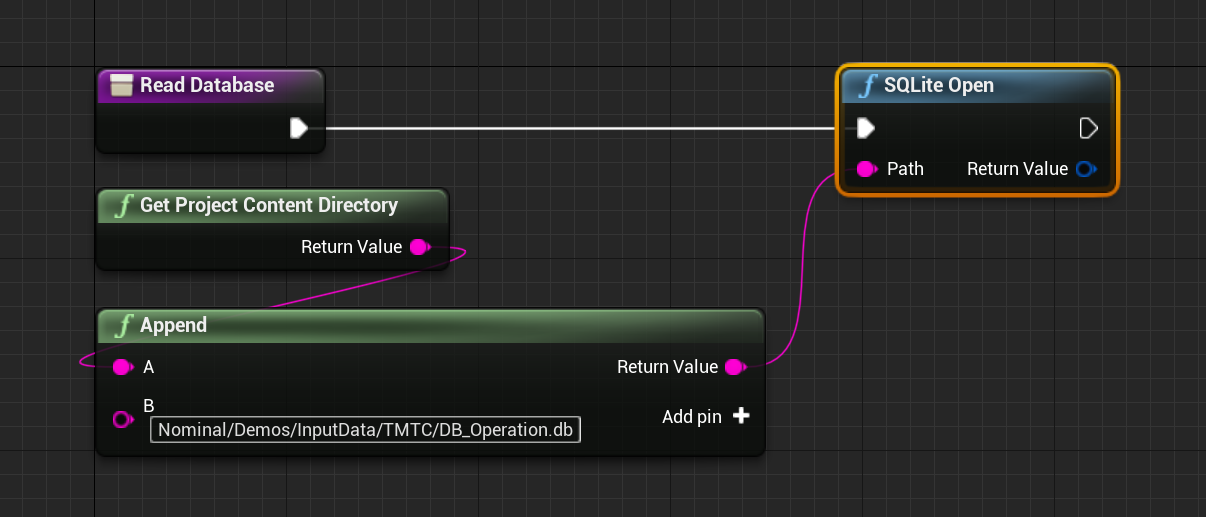
Within the function, the first thing is to open the database with the SQLite Open function. This takes in the full path to the file and returns a reference to the database object. Using the Get Project Content Directory blueprint node and appending it to the file path, the full path can be provided.
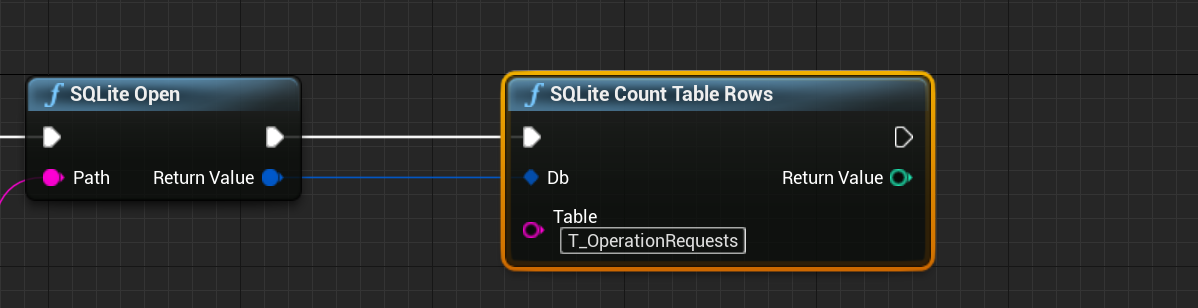
Once the database has been opened, using the reference provided, the number of rows within the table can be read using the SQLite Count Table Rows function. As a test, printing these out to the screen is useful to ensure the number of rows is correct and the correct table and database files have been selected.
To read the data, a for loop that loops from 1 to the number of rows in the table can be added to the right side of the counter function. In SQL, the first row has an index of 1 and not 0. For each row, the SQLite Select Record function can be called which takes in the database reference and the name of the table. Additionally, it takes in some conditions and the columns to return. The output is a list of strings associated with the columns parsed into the function.
Note
The number of values returned from this function is dependent on the Columns passed into the function. The output will be in the order of the column names specified in the input and not the order in the database table.
The condition for each row is rowid = [row] where the row is the index from the for loop converted to a string. This ensures each iteration of the loop a new row is selected and data is pulled from the record.
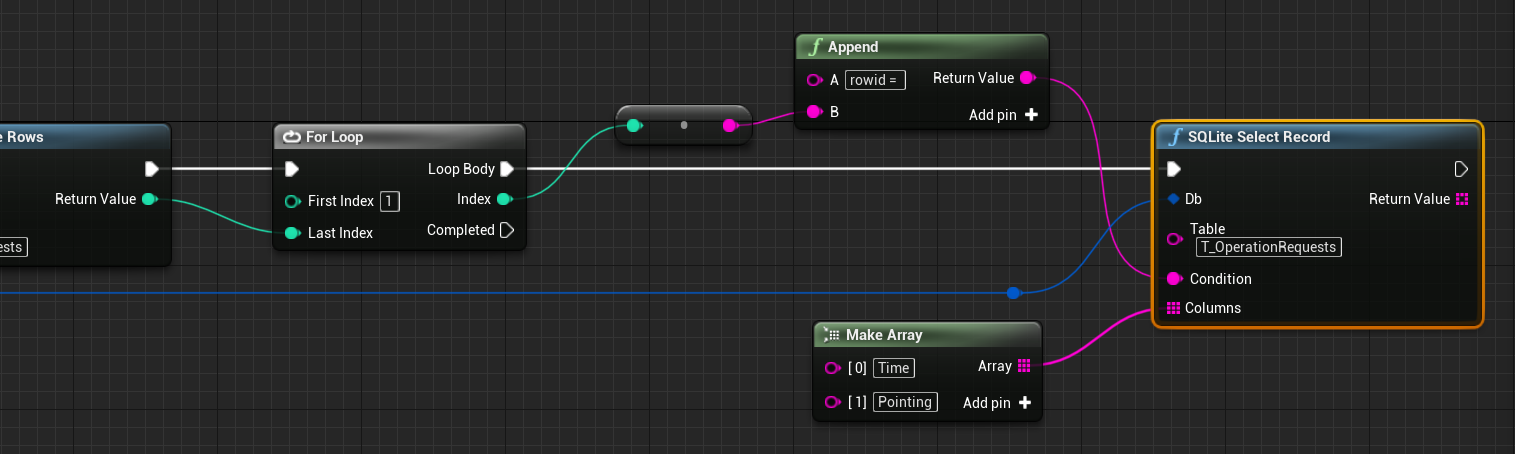
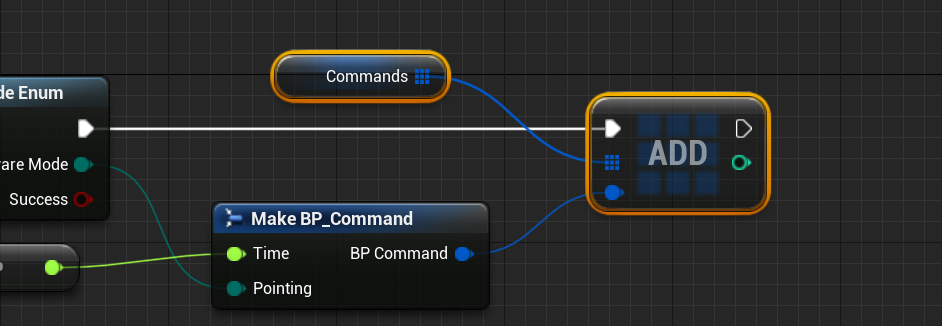
Once the array is returned (which should contain two elements; a time and a pointing mode), a new command structure can be created with the data. The array can be split using the Get (a ref) function from the array. Getting index 0 should return the time parameter and index 1 should return the pointing parameter. The time can be converted from a string to a float using the automatic cast, while the pointing mode can be converted using the String to Flight Software Mode Enum function.

Finally, the last stage is to add the new command to the Commands array. This can be done using the Add function on the array function. This will add the new command to the list. This step happens at the end of the iteration of the rows.
Uploading Commands
Once the commands have been loaded into a structural form, the commands can be uploaded to the system. There are two ways to do this:
- Operation Computer: Using the operation computer to update the guidance modes at particular times in the system. This assumes a specific type of command.
- Custom Logic: Creating blueprint logic nodes that check the simulation time and if the time exceeds a particular command, it is pulled off the list and executed on the guidance computer
This tutorial will cover the automated one with the operating computer. Once the commands have been read from the database, a new function Upload Commands will be created. This will loop through all the commands and upload them to the operating computer.
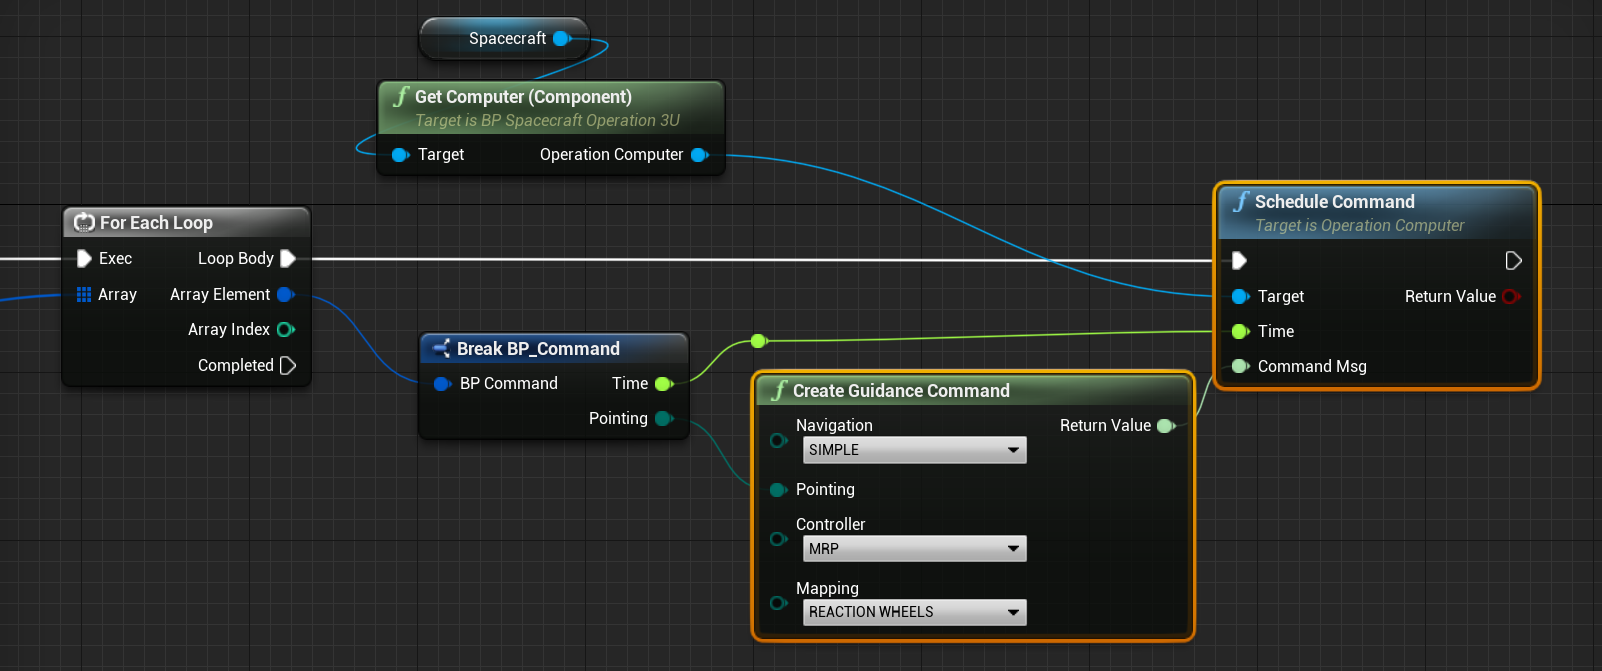
It is assumed that the spacecraft used contains an operating computer. The BP_Spacecraft_Operation_3U is the one used in this tutorial. This spacecraft has a function to get the operating computer. The first thing to do is to loop through all the loaded commands that were done in the previous step. This can be done using a for loop.

For each command, a guidance command needs to be created. A helper function Create Guidance Command has been exposed to do this, which takes in the four command options. Connect the structure’s pointing parameter to the pointing parameter on the command and set the controller to MRP instead of IDLE. From there, on the operation computer simply call the Schedule Command function and pass in the simulation time and the guidance command created.
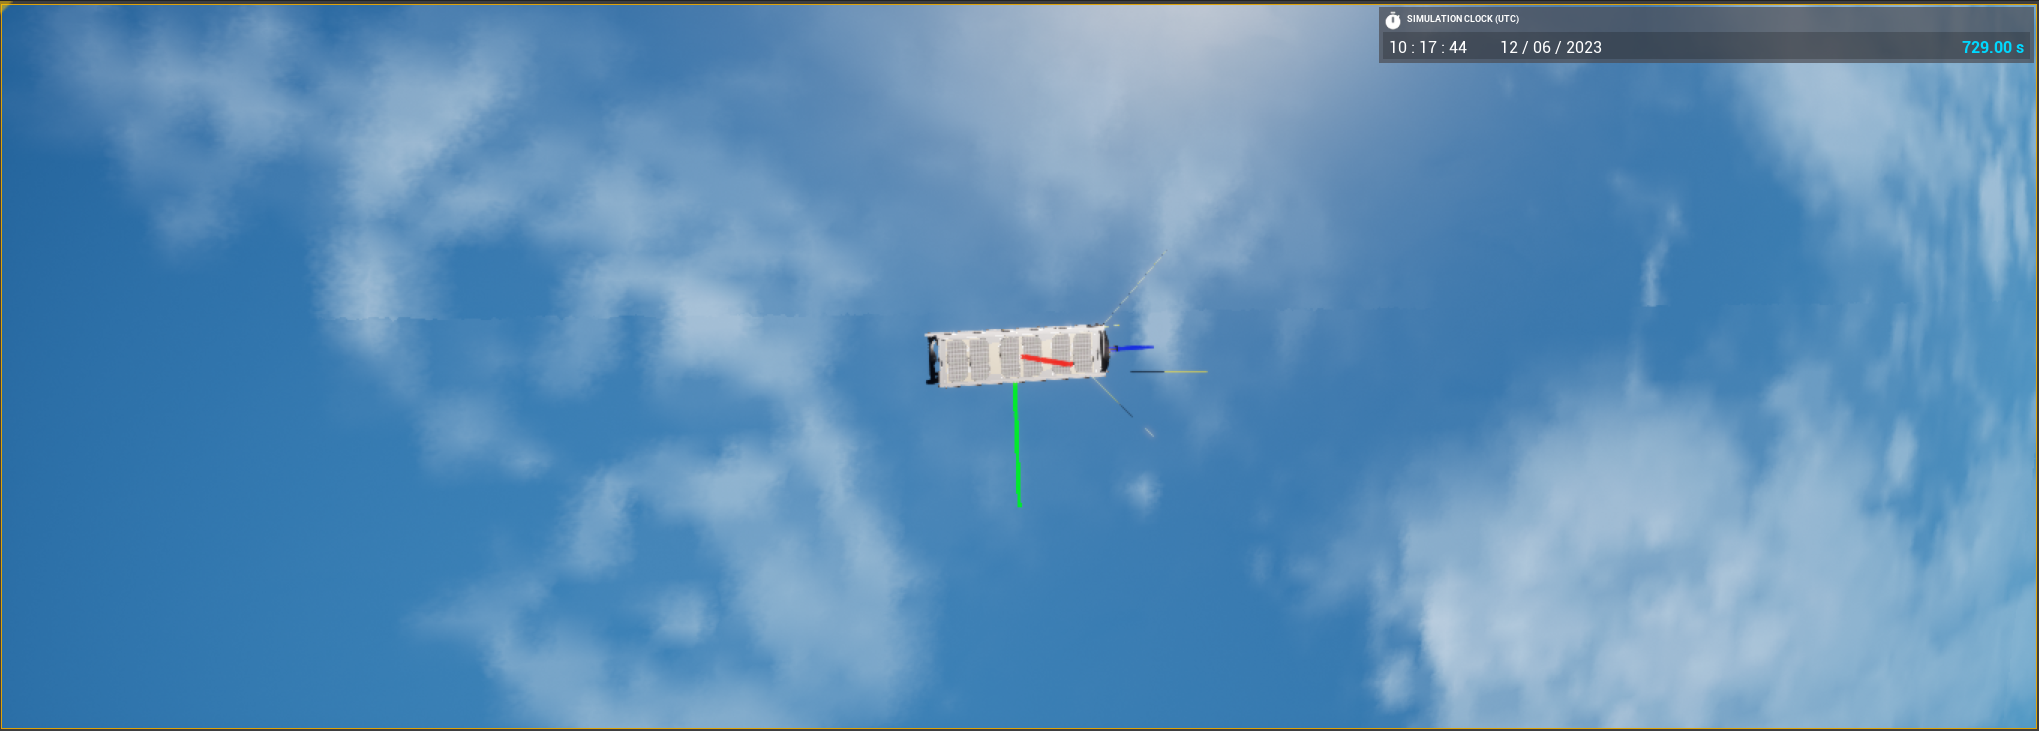
When the simulation runs, the spacecraft will now execute the different pointing modes at the specified simulation time as per the database file.