Editor: Multi-User Sessions
Introduction
This documentation explains the process of setting up a multi-user session using a remote connection. With this setup, multiple users can connect to a shared session and collaborate on developing a level. However, there are certain limitations to keep in mind. For instance, simultaneous editing of the same blueprint is not supported. These limitations are detailed at the end of the documentation.
Warning
The host will need to port forward their router to enable this feature which won’t be covered in this guide.
This guide draws inspiration from Unreal's comprehensive guide, which provides more detailed instructions.
Unreal Engine Remote Multi-User Guide
(1) Enable Multi-User Editing Plugin
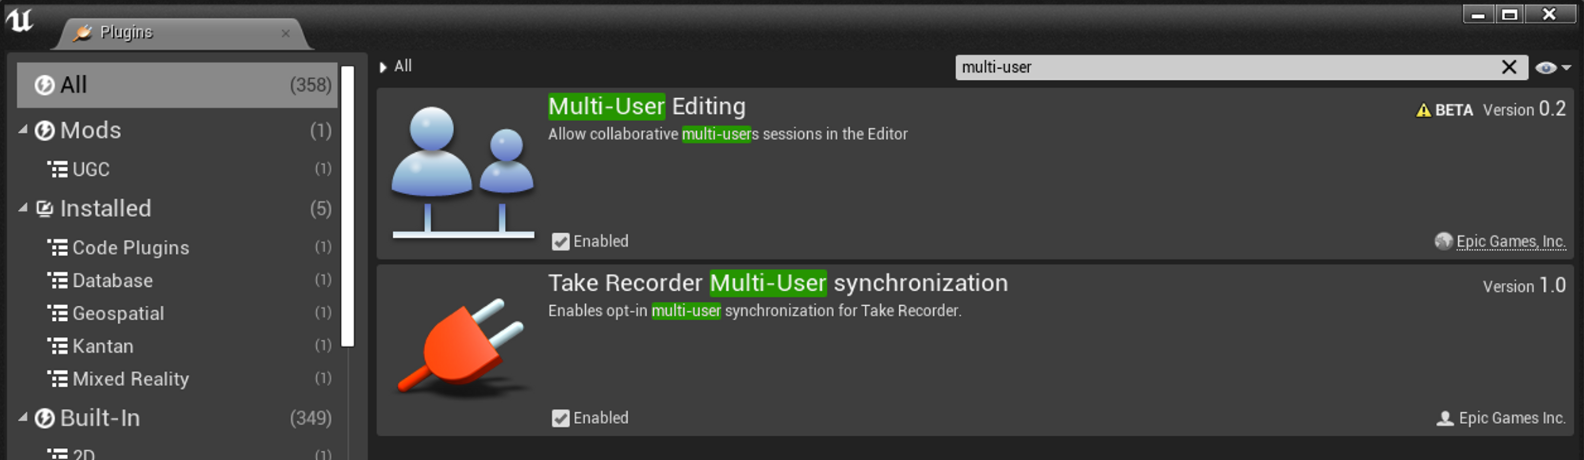
Enable the Multi-User Editing plugin in Unreal Editor. It is found under Edit > Plugins on the menu.
(2) Configuring a Multi-User Session (Host)
Note
Users joining a session (client) can skip this step. This step is only required for the host computer. There can only be one host device running the session.
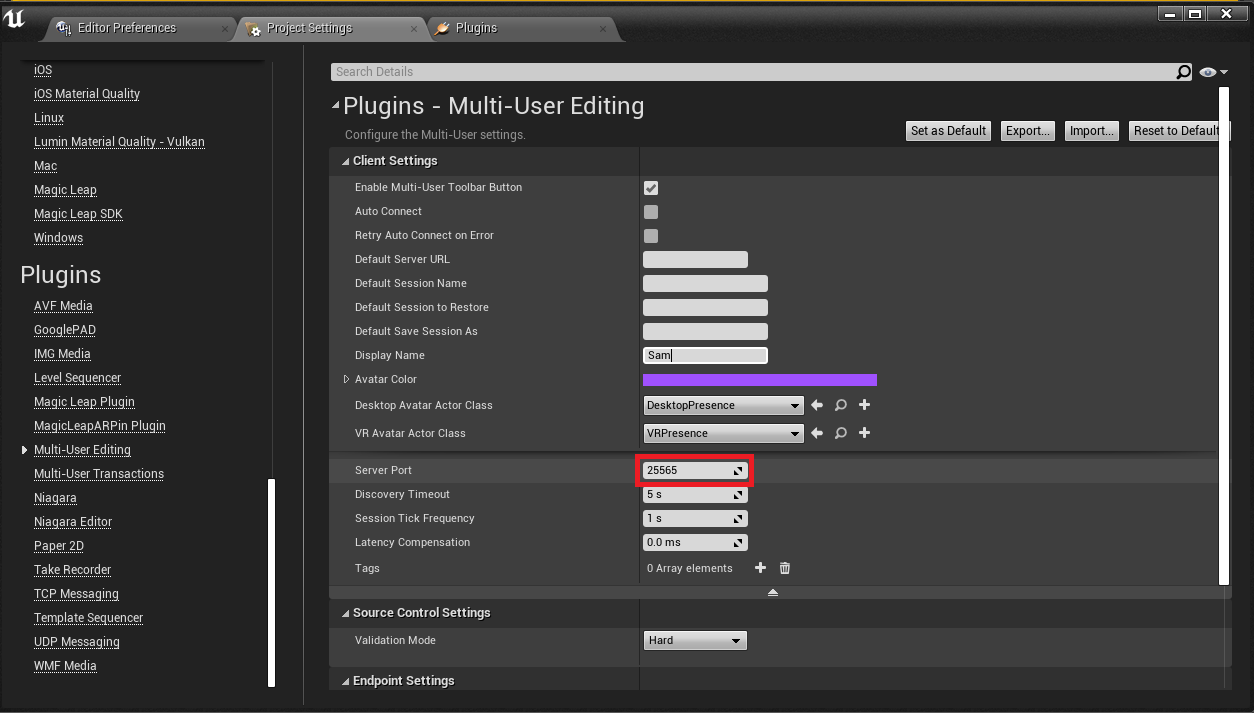
Head to the Multi-User Editing tab in the Project Settings and set the server port to an open port**.** A common port to use is 25565. If this has been taken or reserved by the device, switch to another open port. Users can also set up their display name and personal avatar colour here. Ensure that any networking port is not used here as it may interfere with general computer operations.
(3) Configuring a Multi-User Session (Client)
Note
Users joining a session (client) can skip this step. This step is only required for the host computer. There can only be one host device running the session.
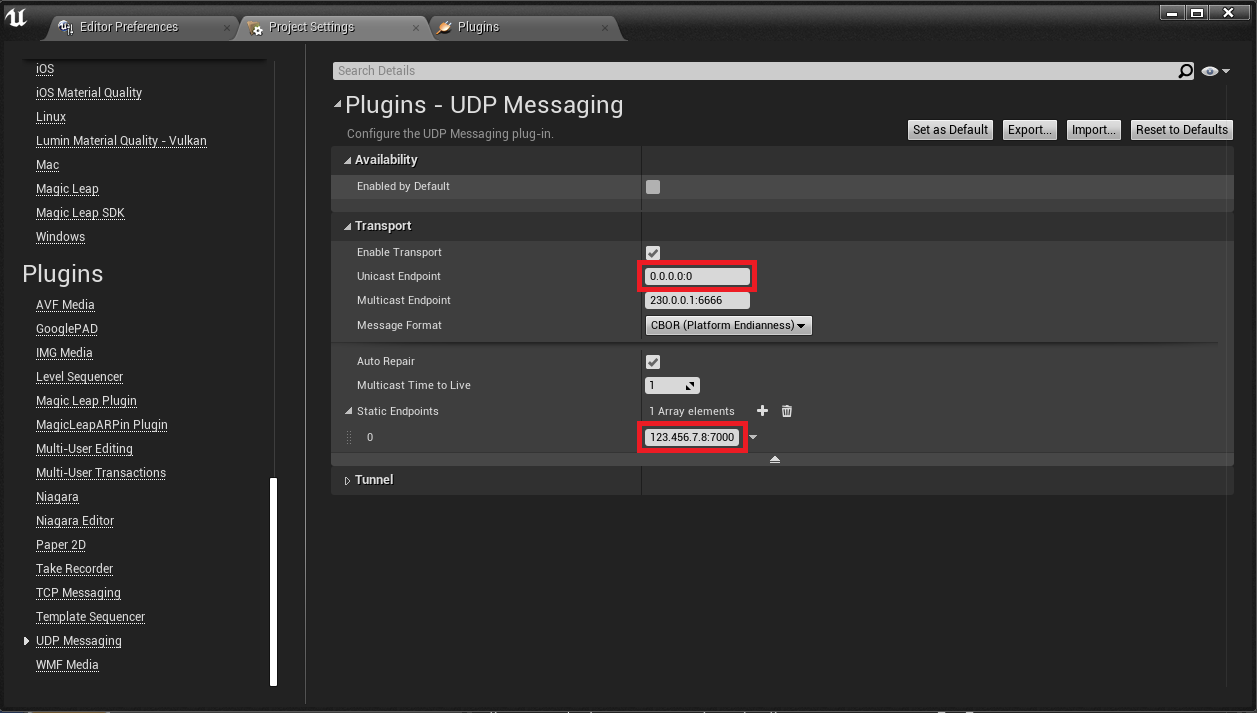
Head to the UDP Messaging tab in Project Settings. Ensure the Unicast Endpoint is set to ****0.0.0.0:0. The Static Endpoint should be a static endpoint set to the IP address of the machine that will be hosting the Multi-User Server, followed by the port set by the host in the previous step. For example 123.456.7.8:7000. The IP address is the public IP address if hosted on a personal PC.
(4) Hosting a Multi-User Server
Note
This step is only required to be completed by the host device. Client devices can skip this step.
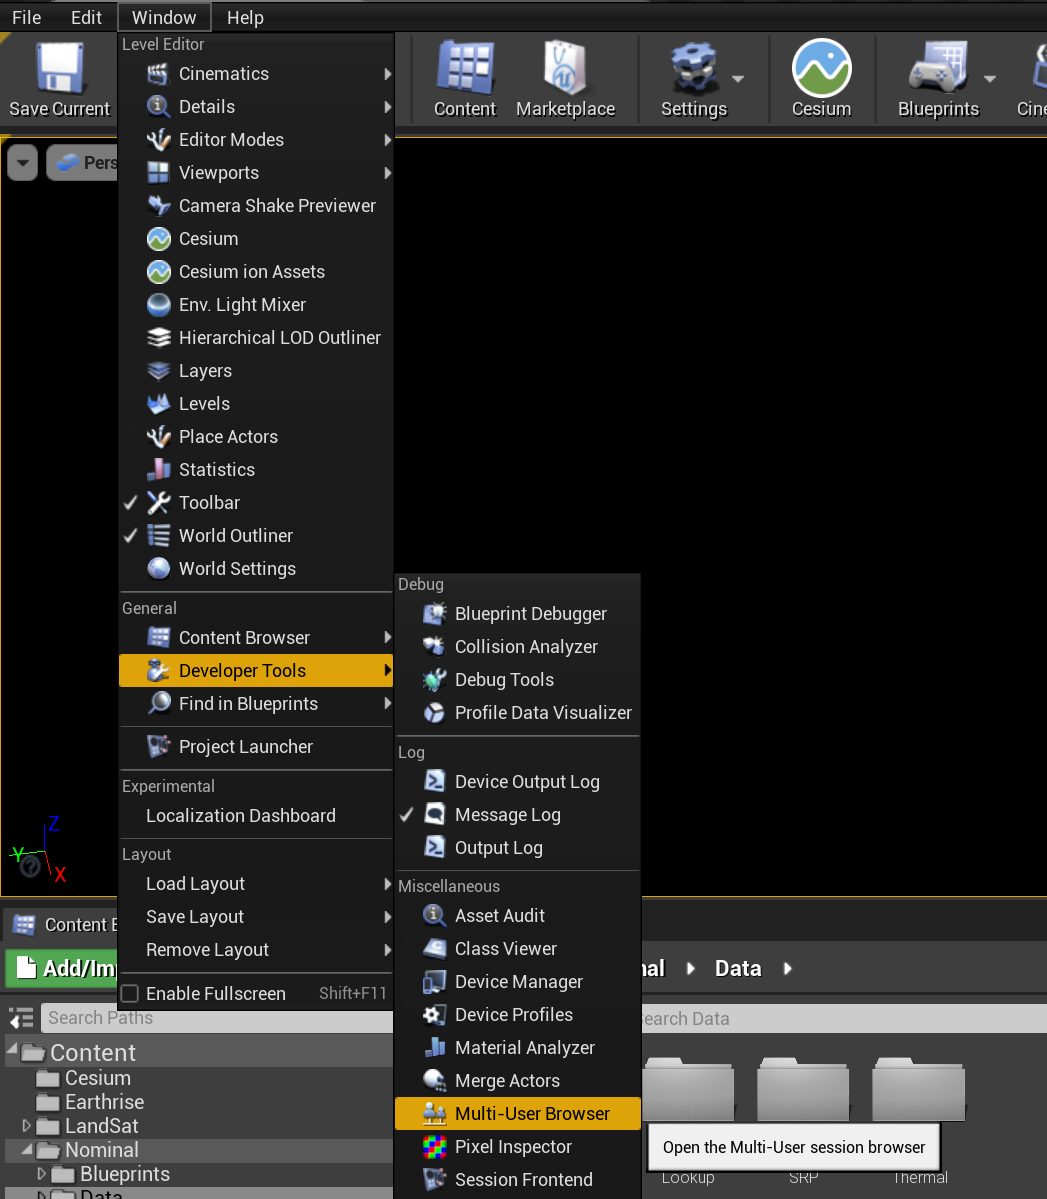
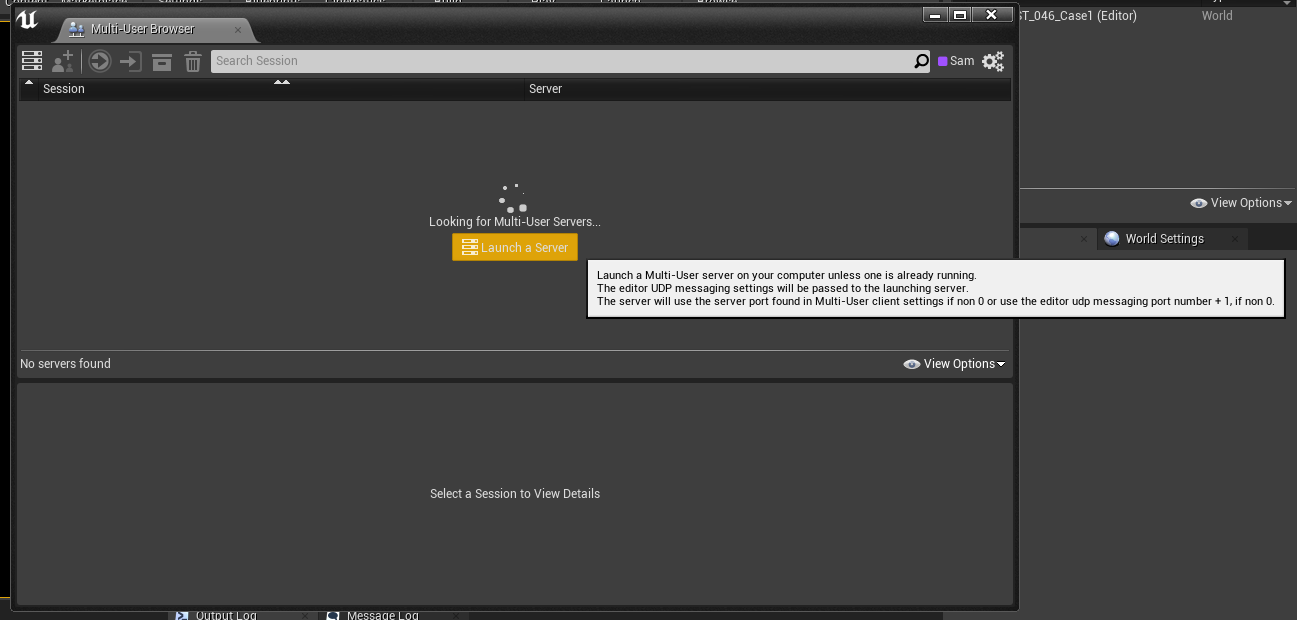
Open up the Multi-User Browser found in Window > Developer Tools > Multi-User Browser and launch a server once the windows open.
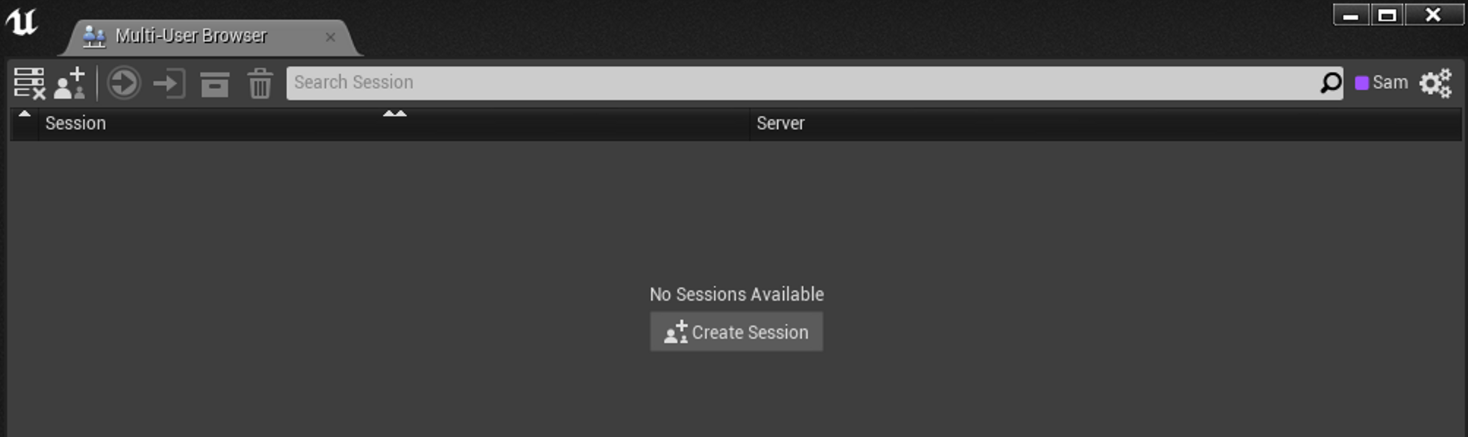
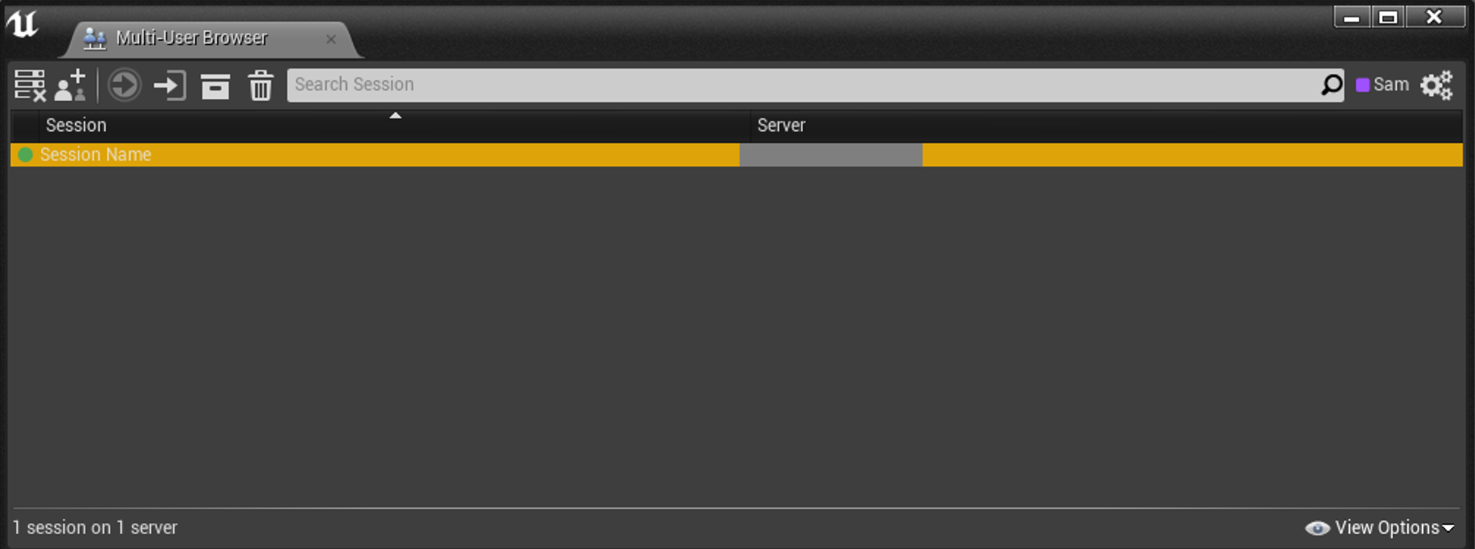
Create a session by giving the session a name and clicking the green tick to confirm. This session name should be unique to the device you are using. As the host, the device will automatically be connected to the session that was created.

(5) Joining a Multi-User Server
For clients, open up the Multi-User Browser found in Window > Developer Tools > Multi-User Browser. If you’ve set it up correctly and a session has been launched, you’ll see it in the list. Double-click to join the session.
(6) Saving Changes
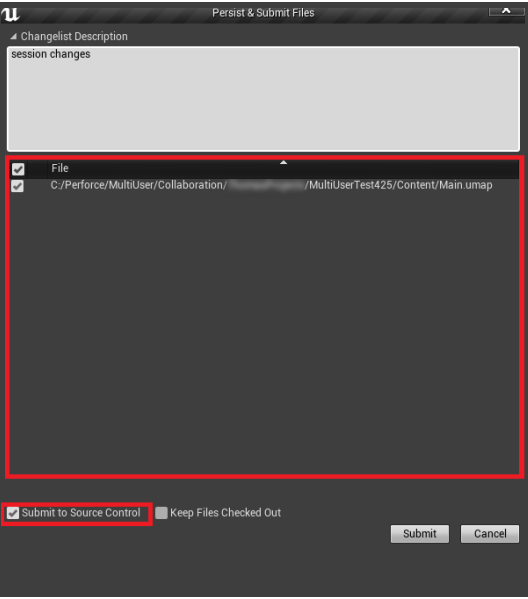
Changes within the session won’t persist until you manually check them. Head to Source Control > Persist Session Changes to do so.
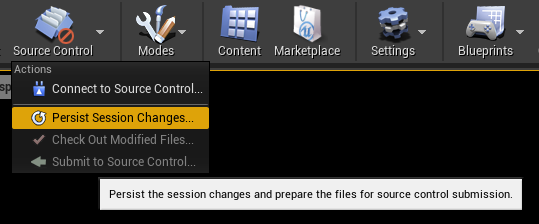
Select the files you wish to persist and click submit. After persisting changes, you can then use your Source Control to push the changes.
Limitations
- Users cannot edit the same blueprint at the same time. This includes level blueprints.
- The sessions will stutter now and then due to syncing files across the server.
- Sessions will have slower loading times as files get added and created within a session. These files are not committed to a source control until you do so. Using a source control will reduce downloading the files each time you join.